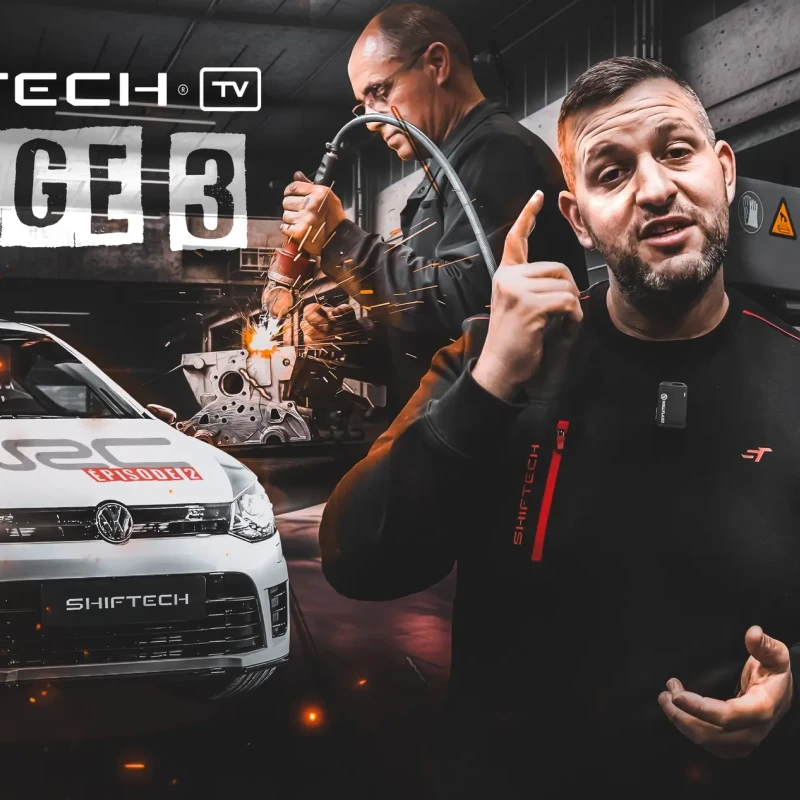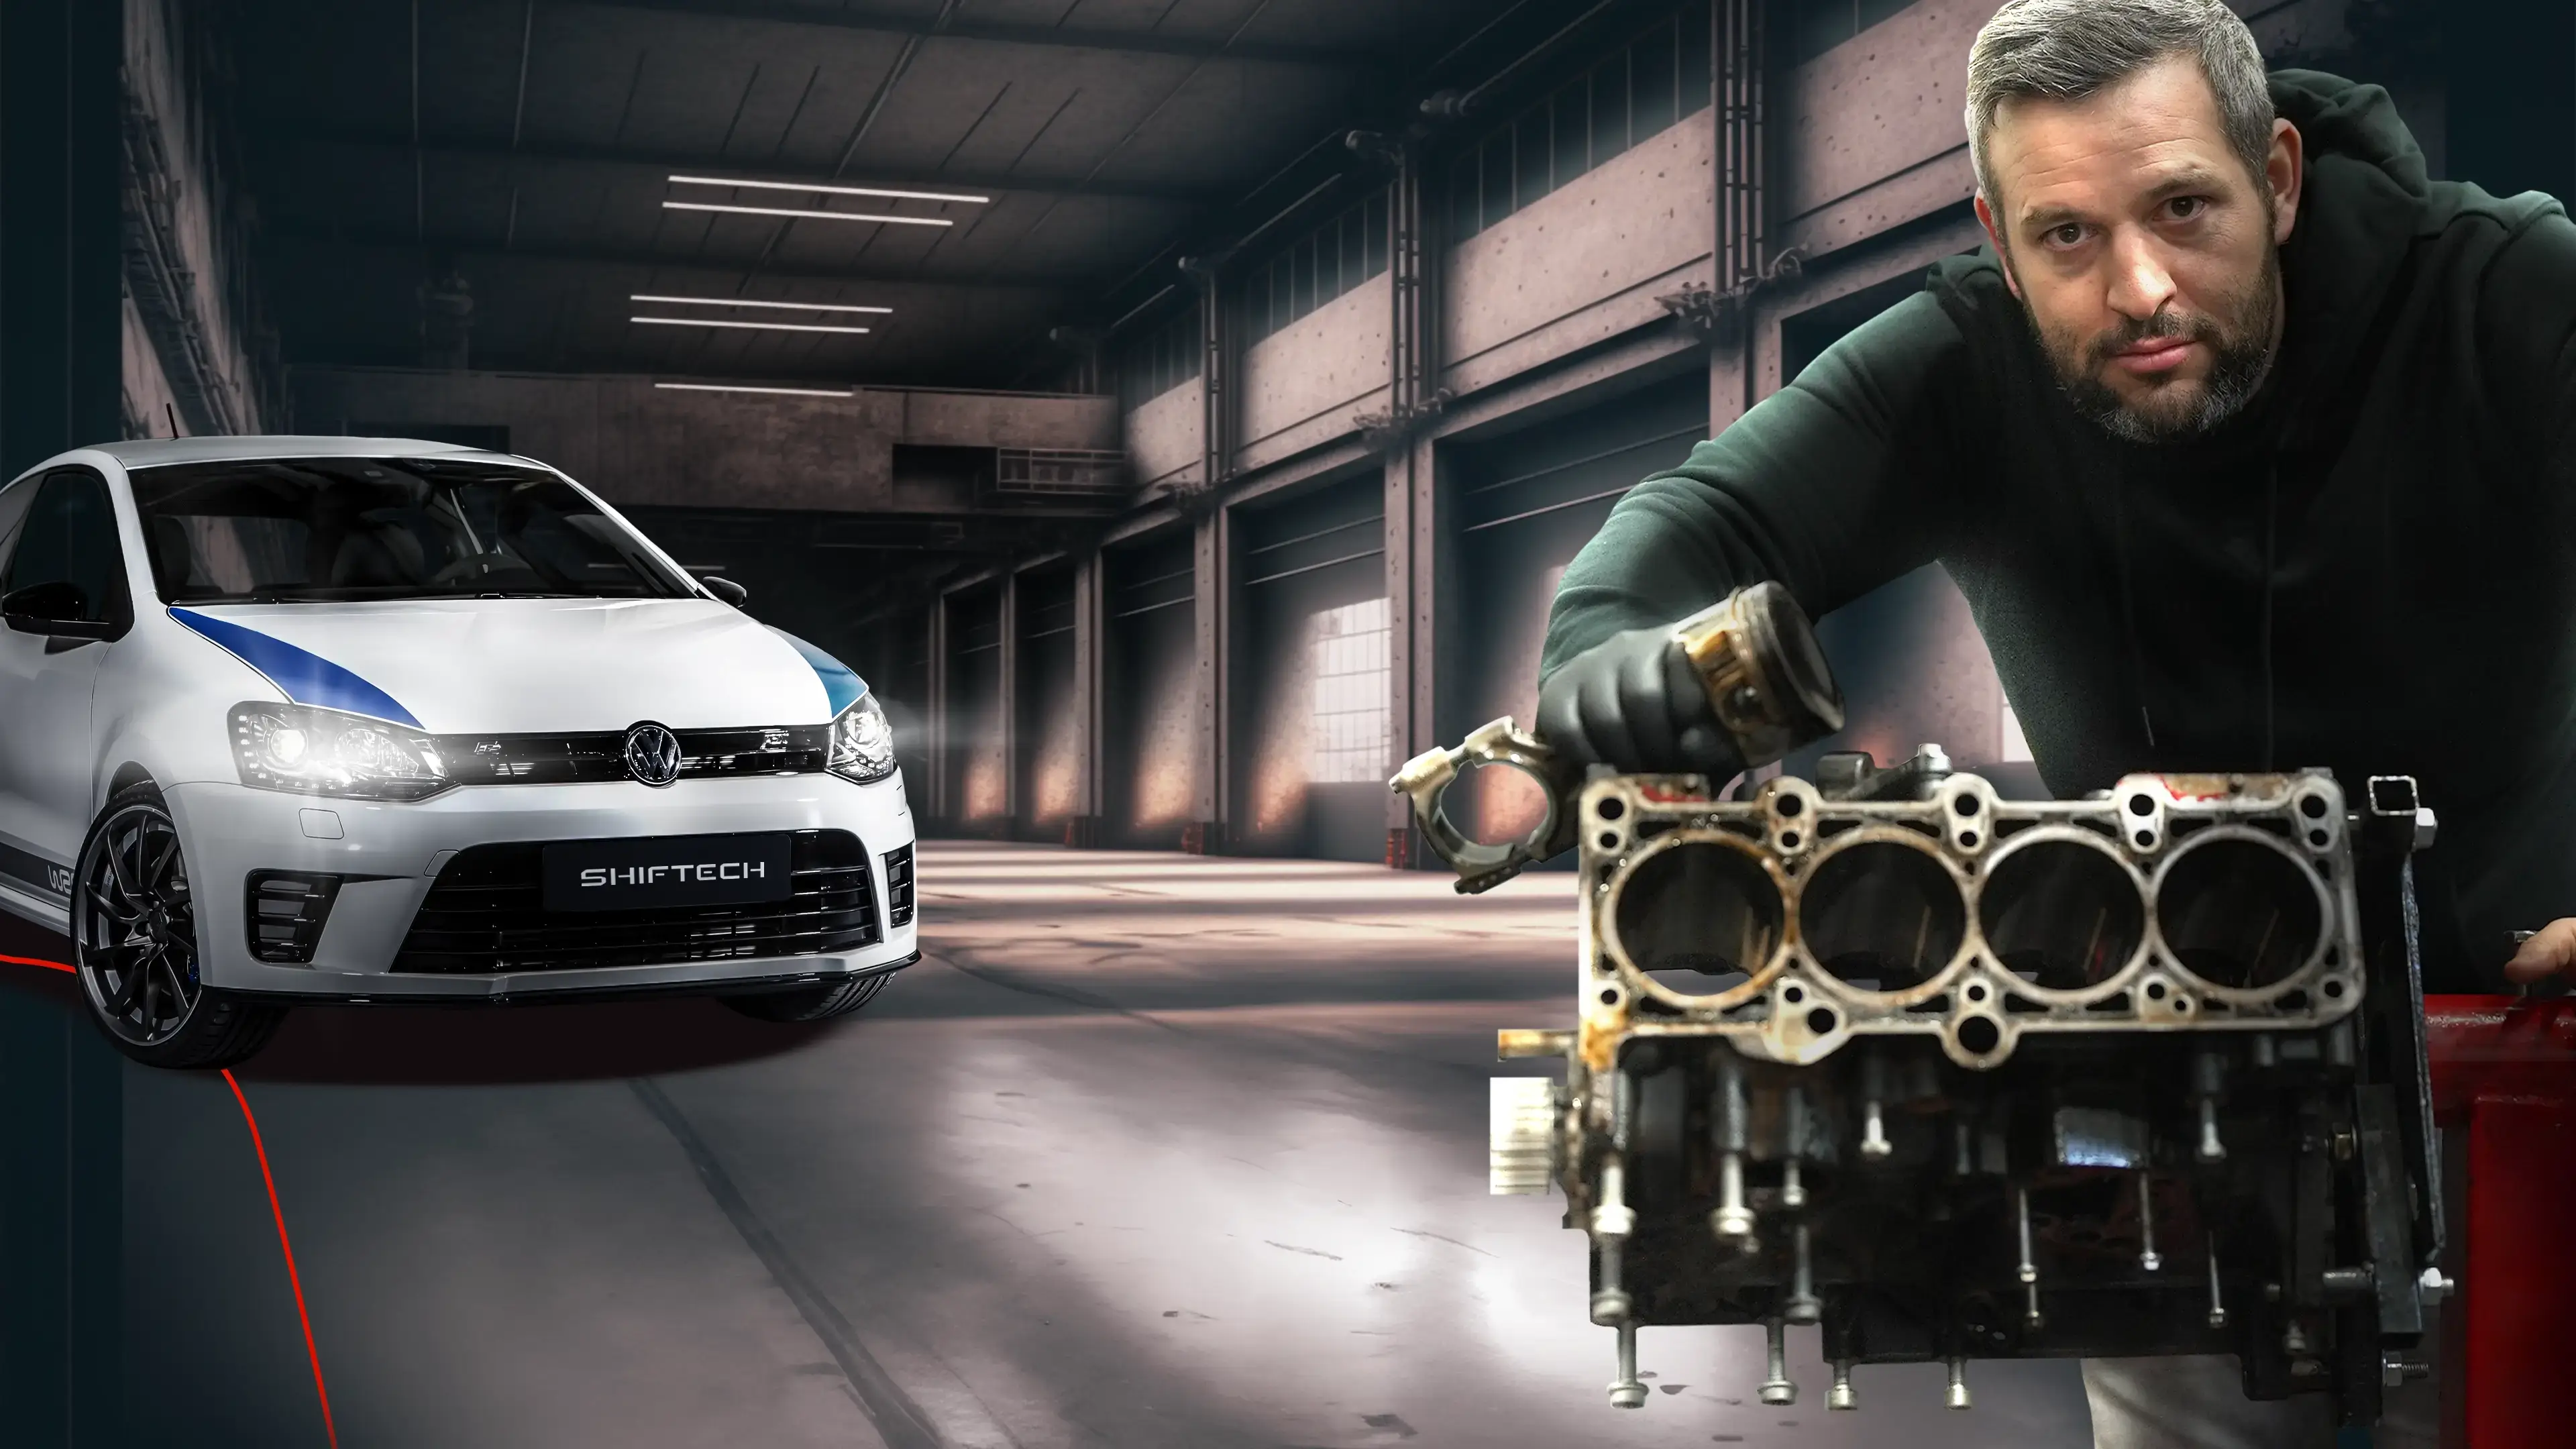
Stage 3 - Preparing the engine of a Polo WRC
The Polo WRC is an iconic Volkswagen racing car. Originally designed for rallying, the car's front-wheel-drive (FWD) road version has captured the interest of motorsport enthusiasts. With a powerful engine and a lightweight design, the Polo WRC has become a popular vehicle for those who love lightweight performance cars.
This article from our Youtube video is the first in a series in which we'll look at how to prepare a Polo WRC engine for Stage 3. You're about to discover the different stages required to carry out this Stage 3 preparation as we like them at Shiftech, so get ready to be glued to the bucket.
Let's Go!
The Polo WRC: a homologated rally car
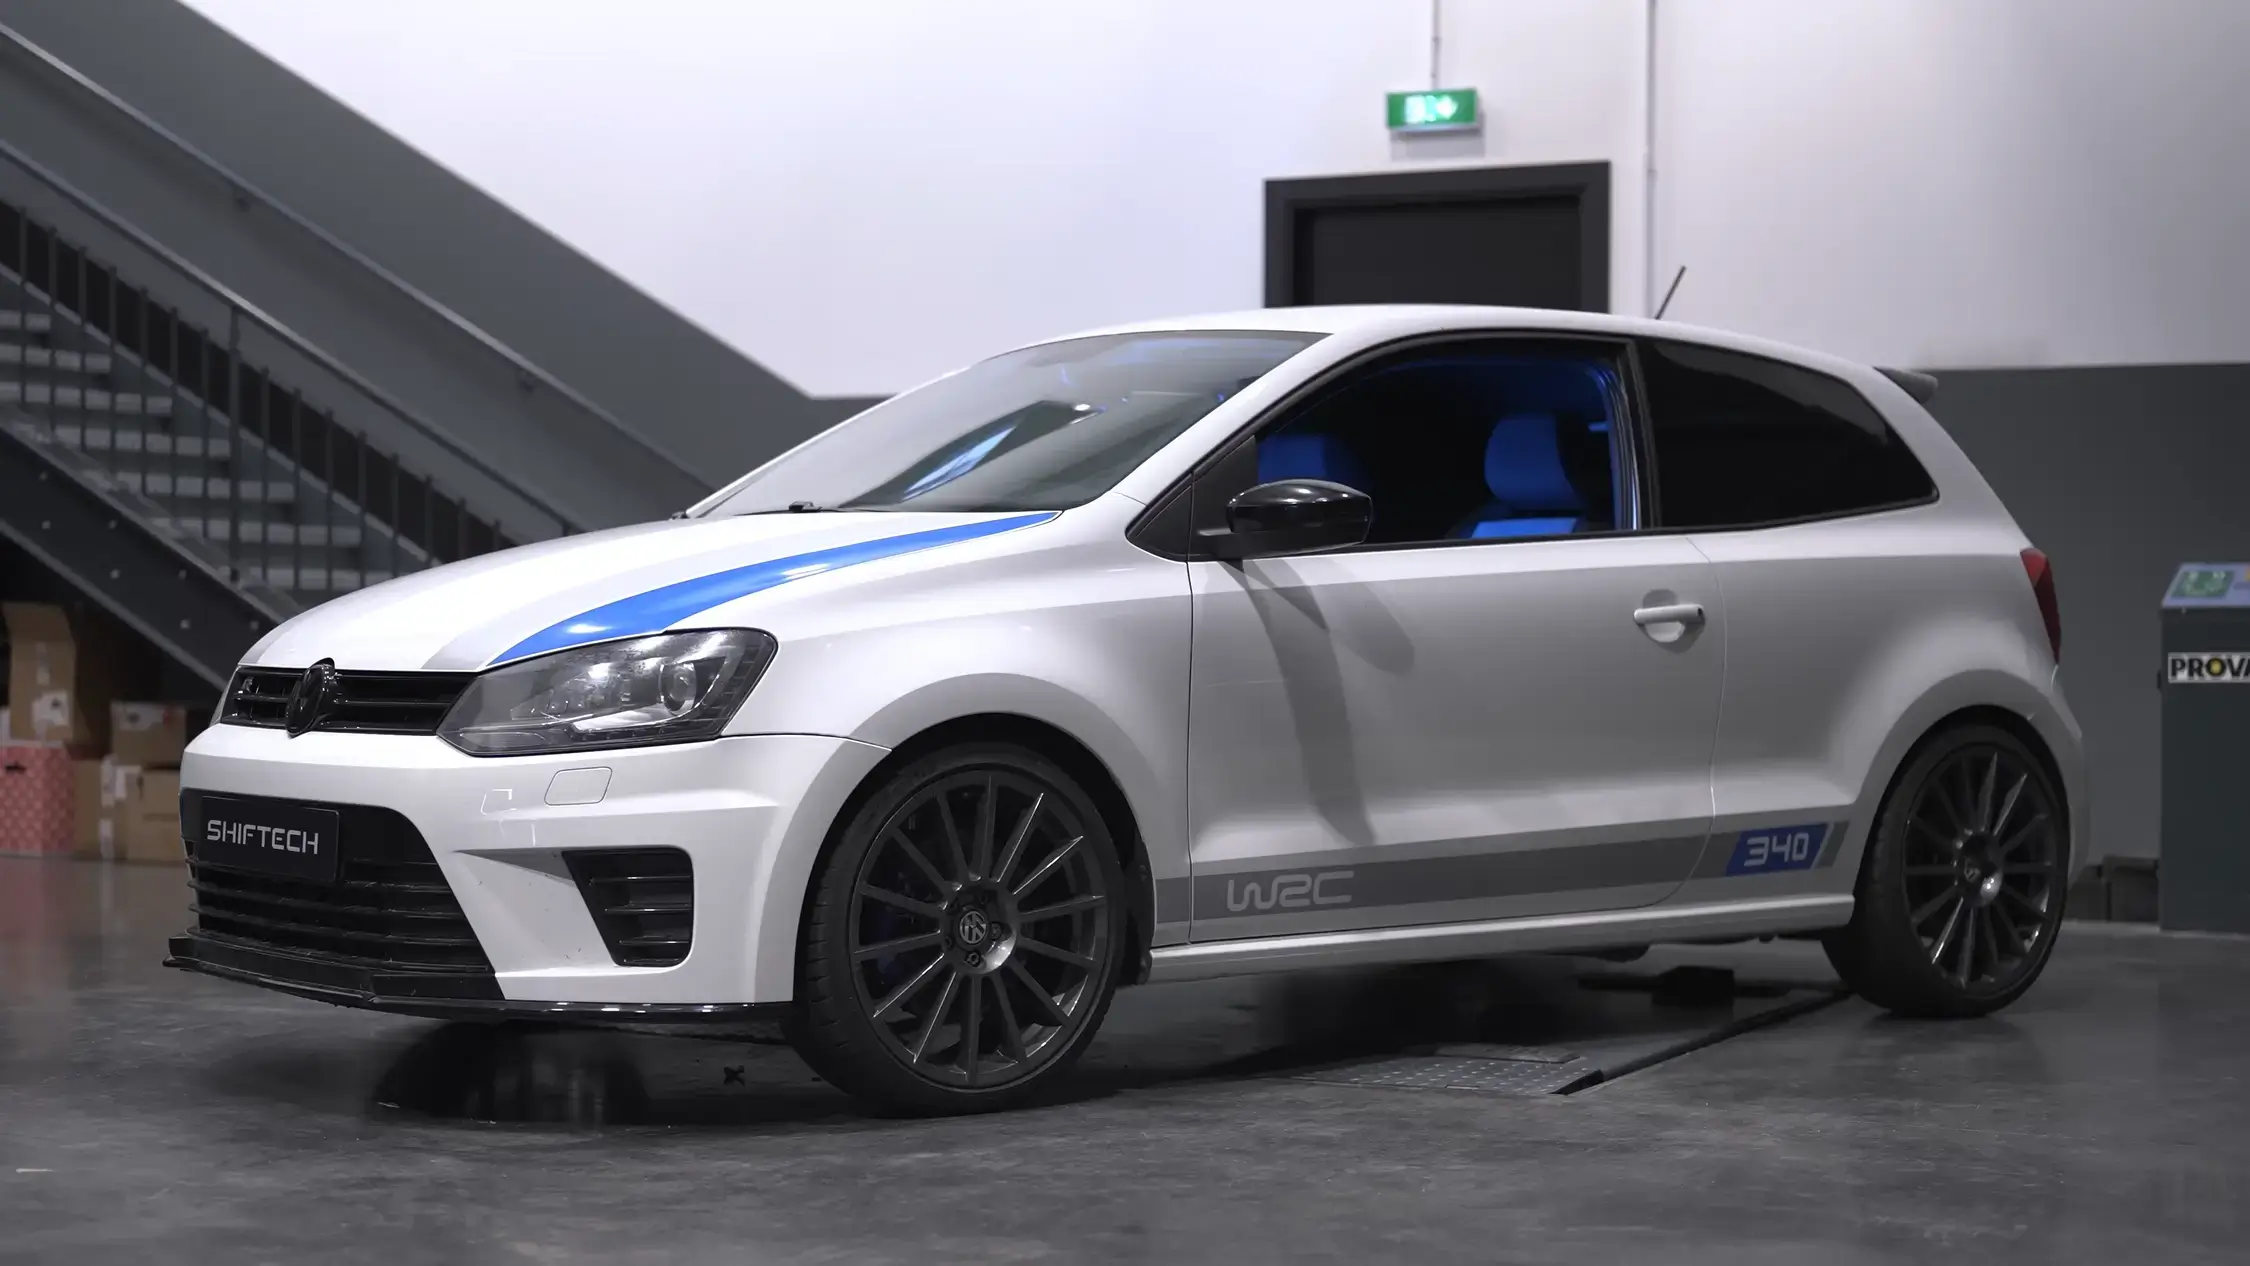
The Polo WRC, designed by Volkswagen for the homologation of their rally vehicles, has a front-wheel-drive design like its rally counterpart, which has 4-wheel drive. It has a 6-speed gearbox and an XDS system to simulate a self-locking system (adjustable in 3 modes: Soft, Medium and Hard), making the Polo WRC an iconic sports car. Unlike the Polo GTI, the Polo WRC has fewer interior options and finishes, with the emphasis on lightness and power.
This model, numbered 340, is part of the limited edition of 2,500 cars required for WRC homologation. It is equipped with a 2.0L TSI EA113 engine (220 bhp as standard), offering exceptional potential for gains.
The preparation required by the customer
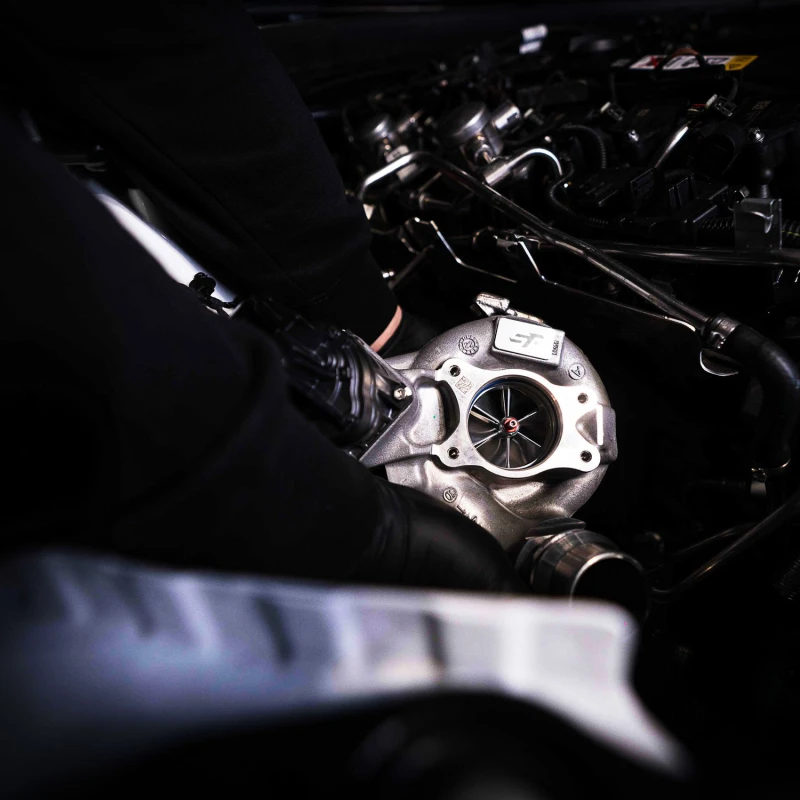
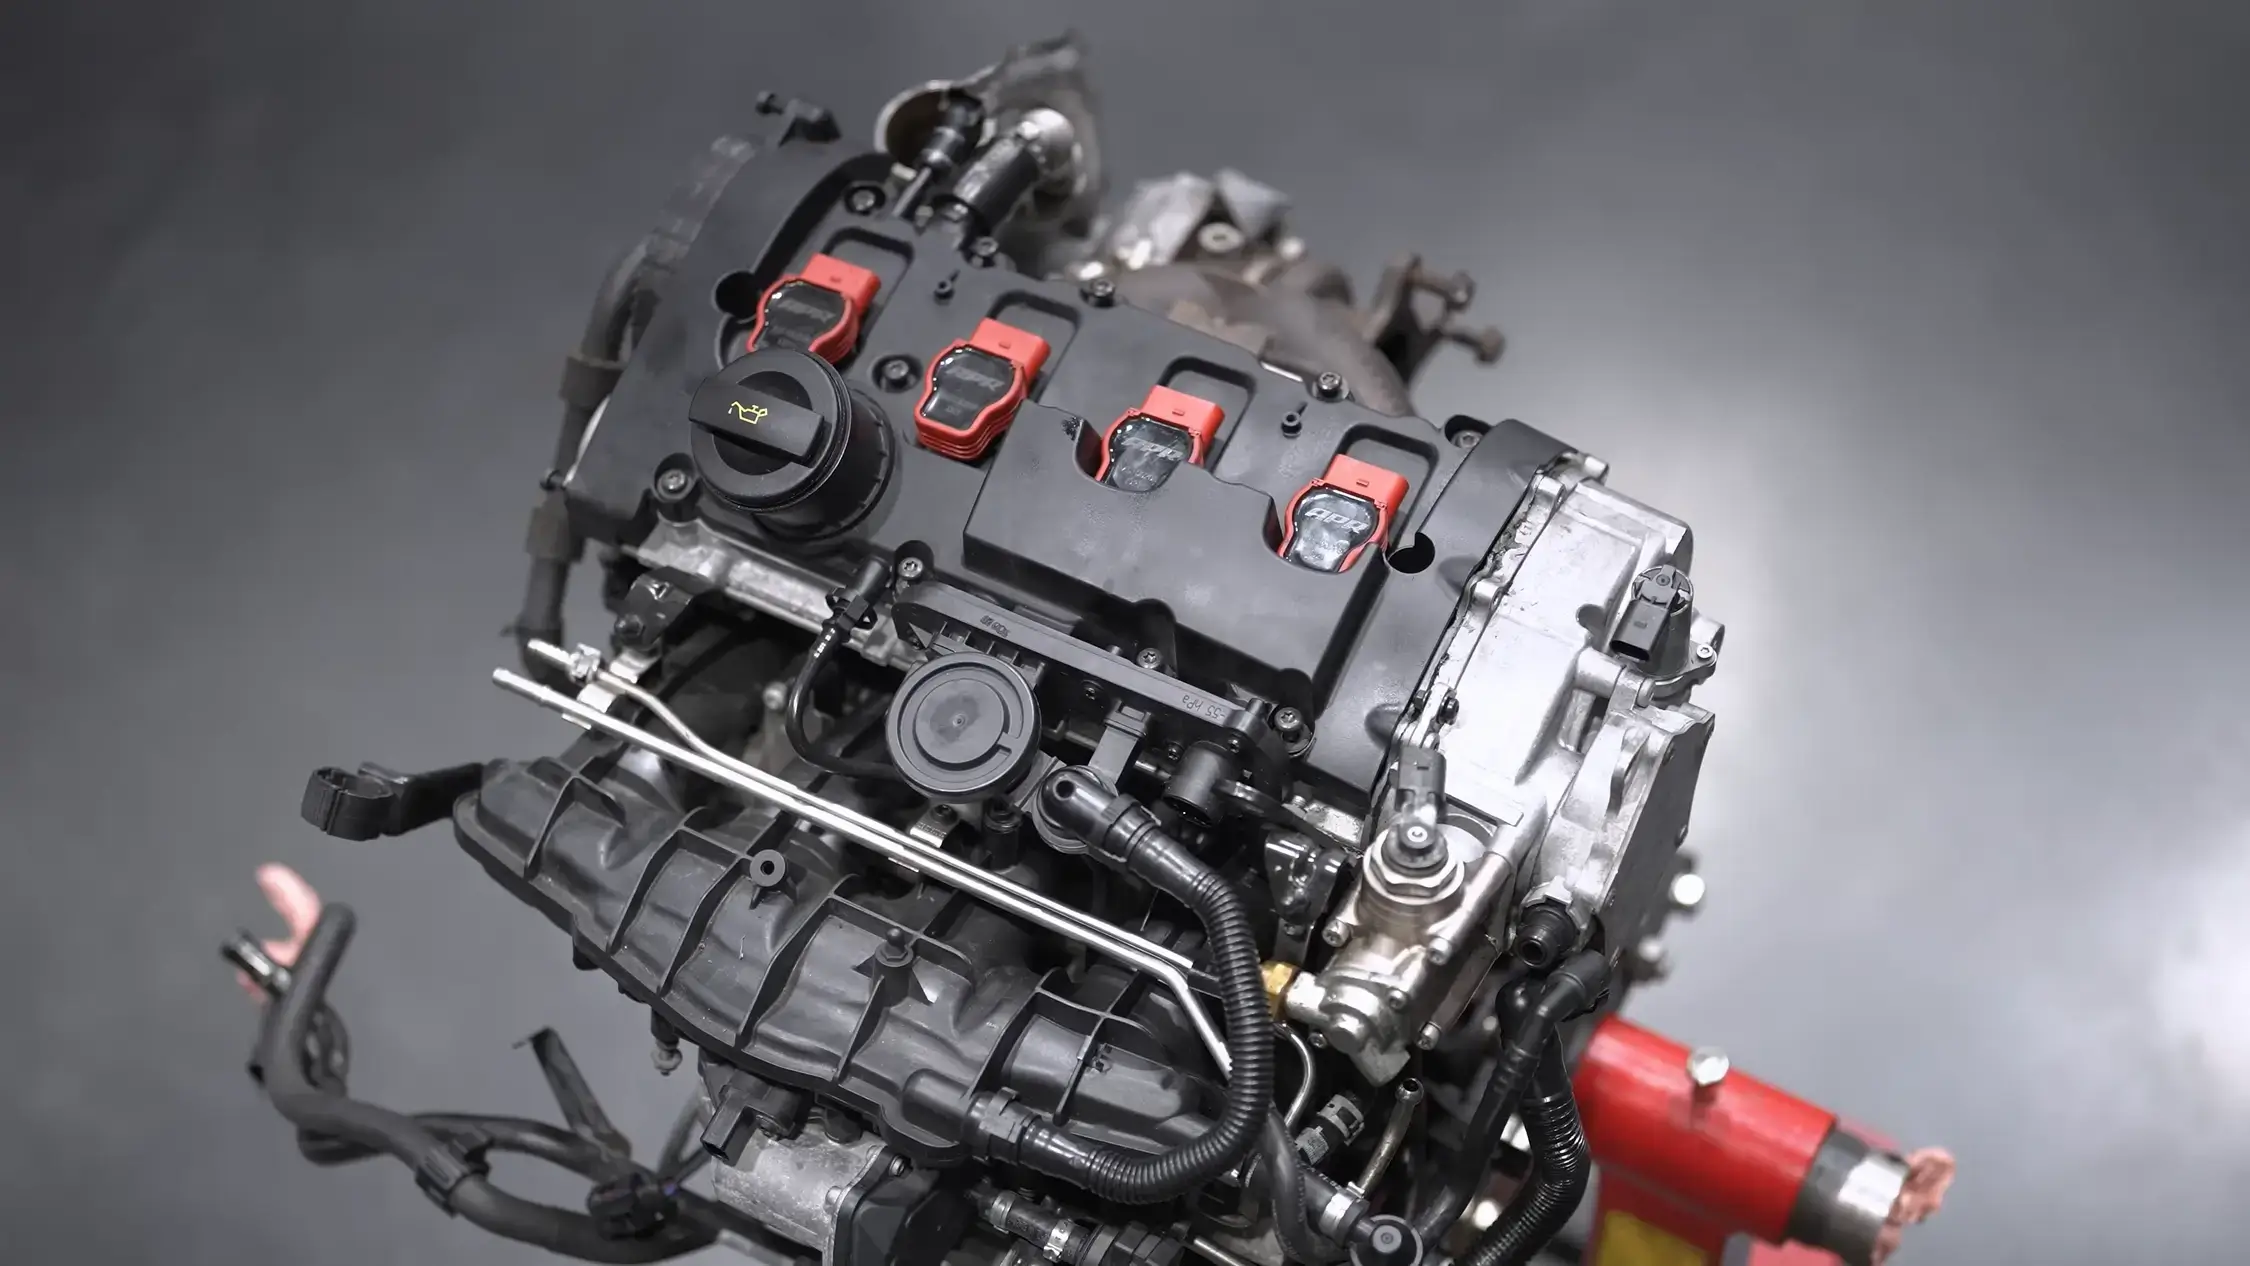
The owner wanted a Stage 3 preparation with a completely forged engine and a TTE 480 turbo for between 450 and 470 horsepower. The aim is to achieve exceptional performance, while retaining comfortable, lag-free everyday driving. Long-term reliability is also essential, hence the choice of forged parts and a TTE 480 PNP (Plug and Play) hybrid turbo for in-place installation.
Mechanical diagnosis and engine preparation
Problems encountered
After covering more than 100,000 kilometres, the Polo WRC's engine began to show signs of wear, in particular a lack of compression in one cylinder. This mechanical problem required the engine to be completely dismantled for a thorough diagnosis.
Removing the engine
In this case, the engine presented a major problem: a total absence of compression in cylinder 1. This indicates that, during the compression phase, when the piston moves upwards to compress the air-fuel mixture, no pressure is produced in this cylinder, with a measurement of zero bar. There are several possible causes for this problem:
- A faulty spark plug,
- A damaged piston,
- Or a problem with the cylinder itself.
On these types of engine, it is common for cylinder 1 to be damaged, whether due to an injector problem, an ignition problem, or simply wear and tear.
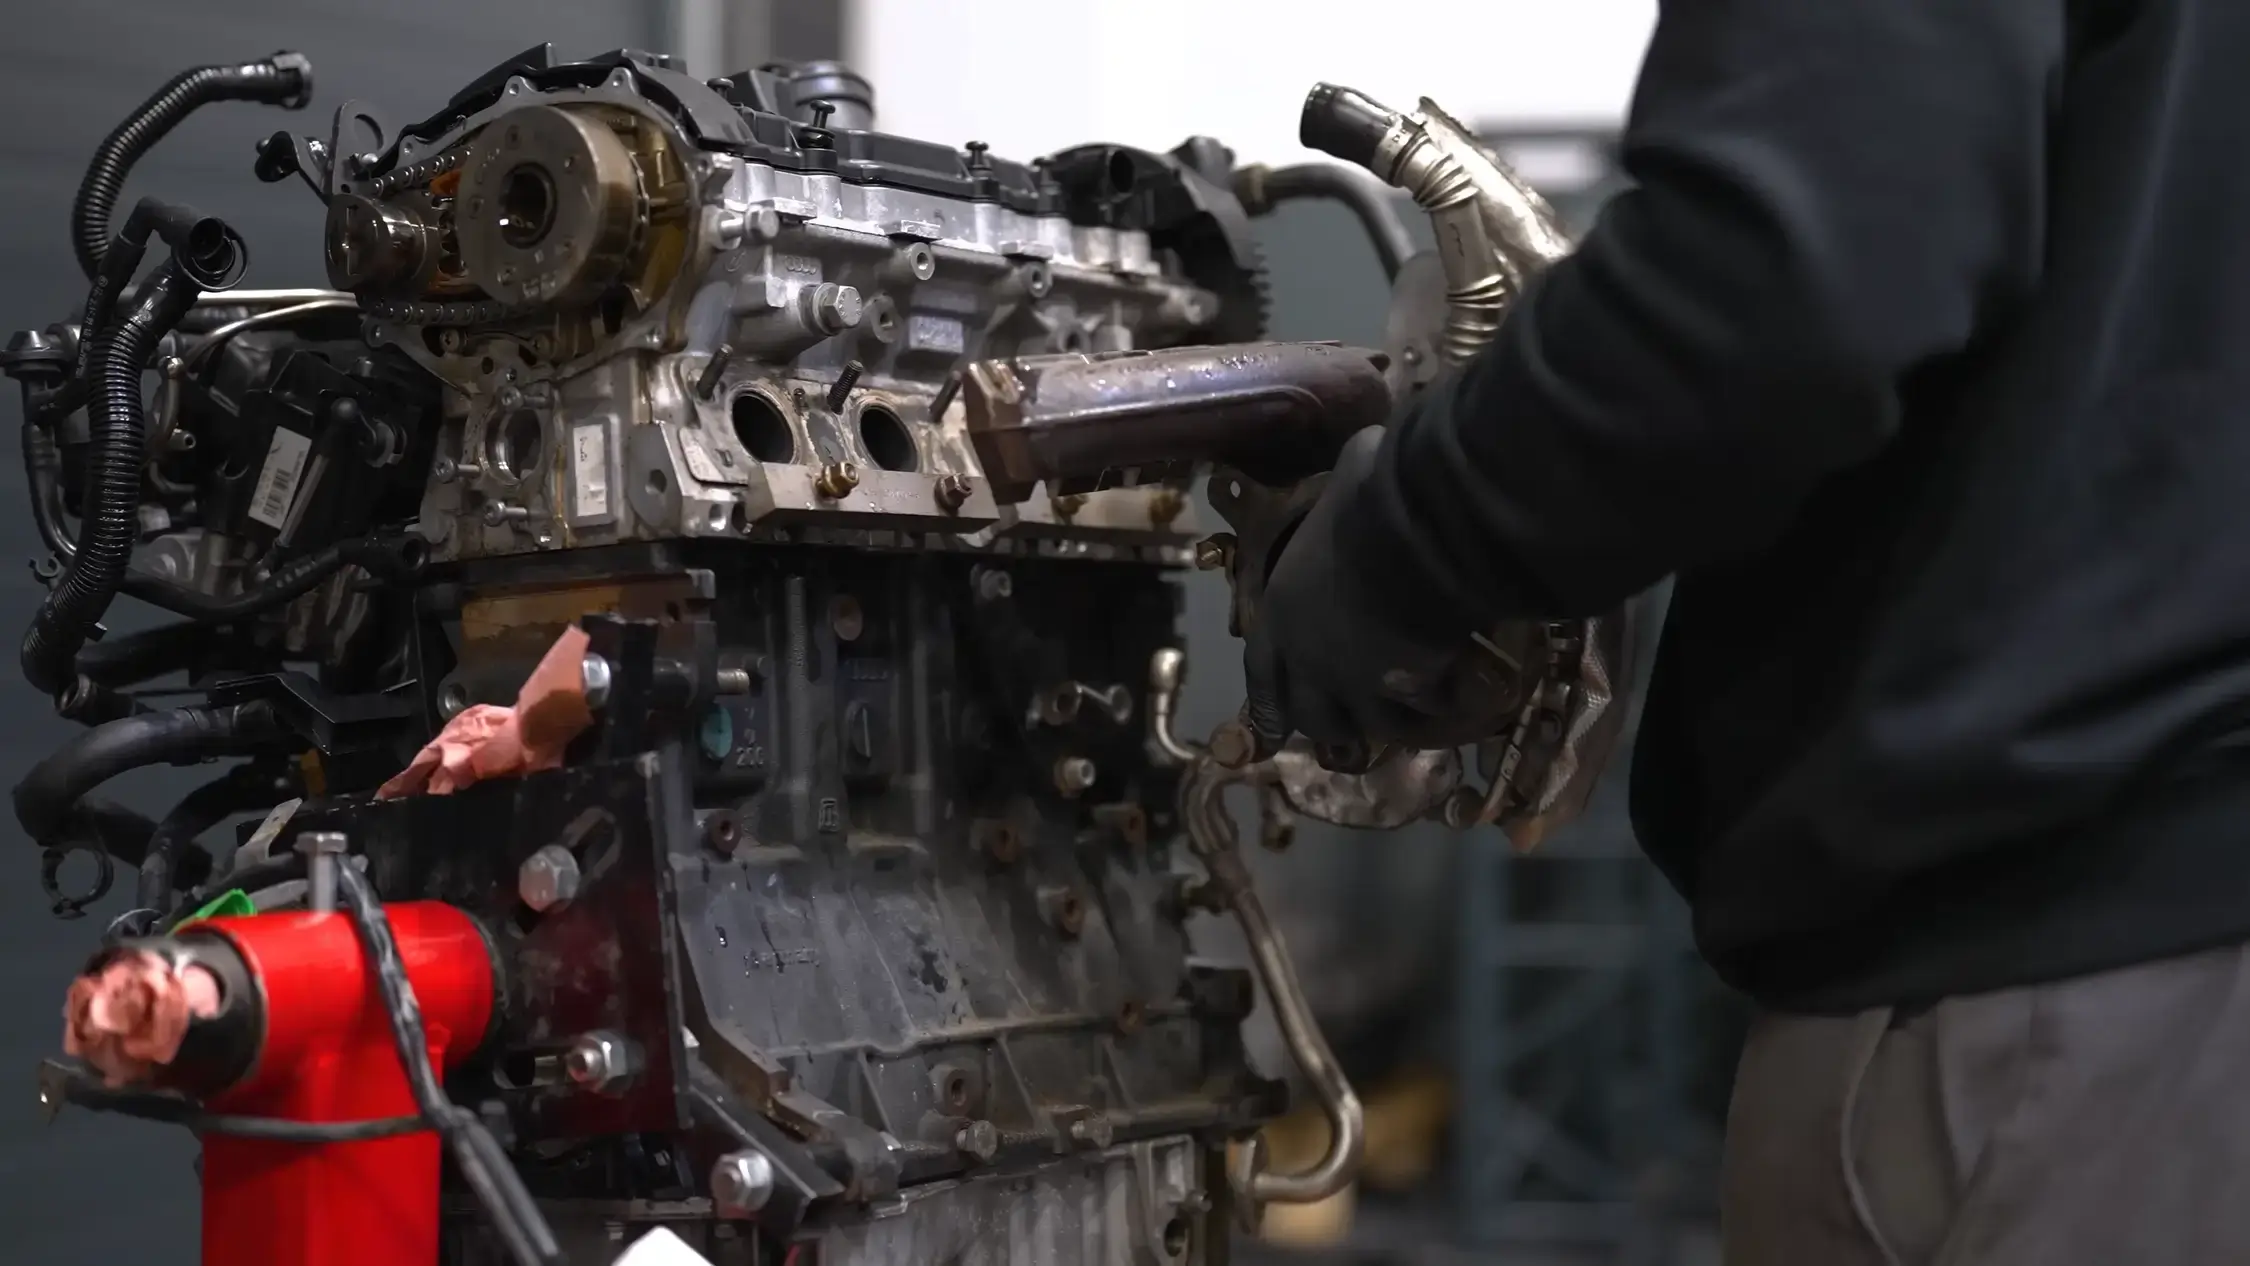
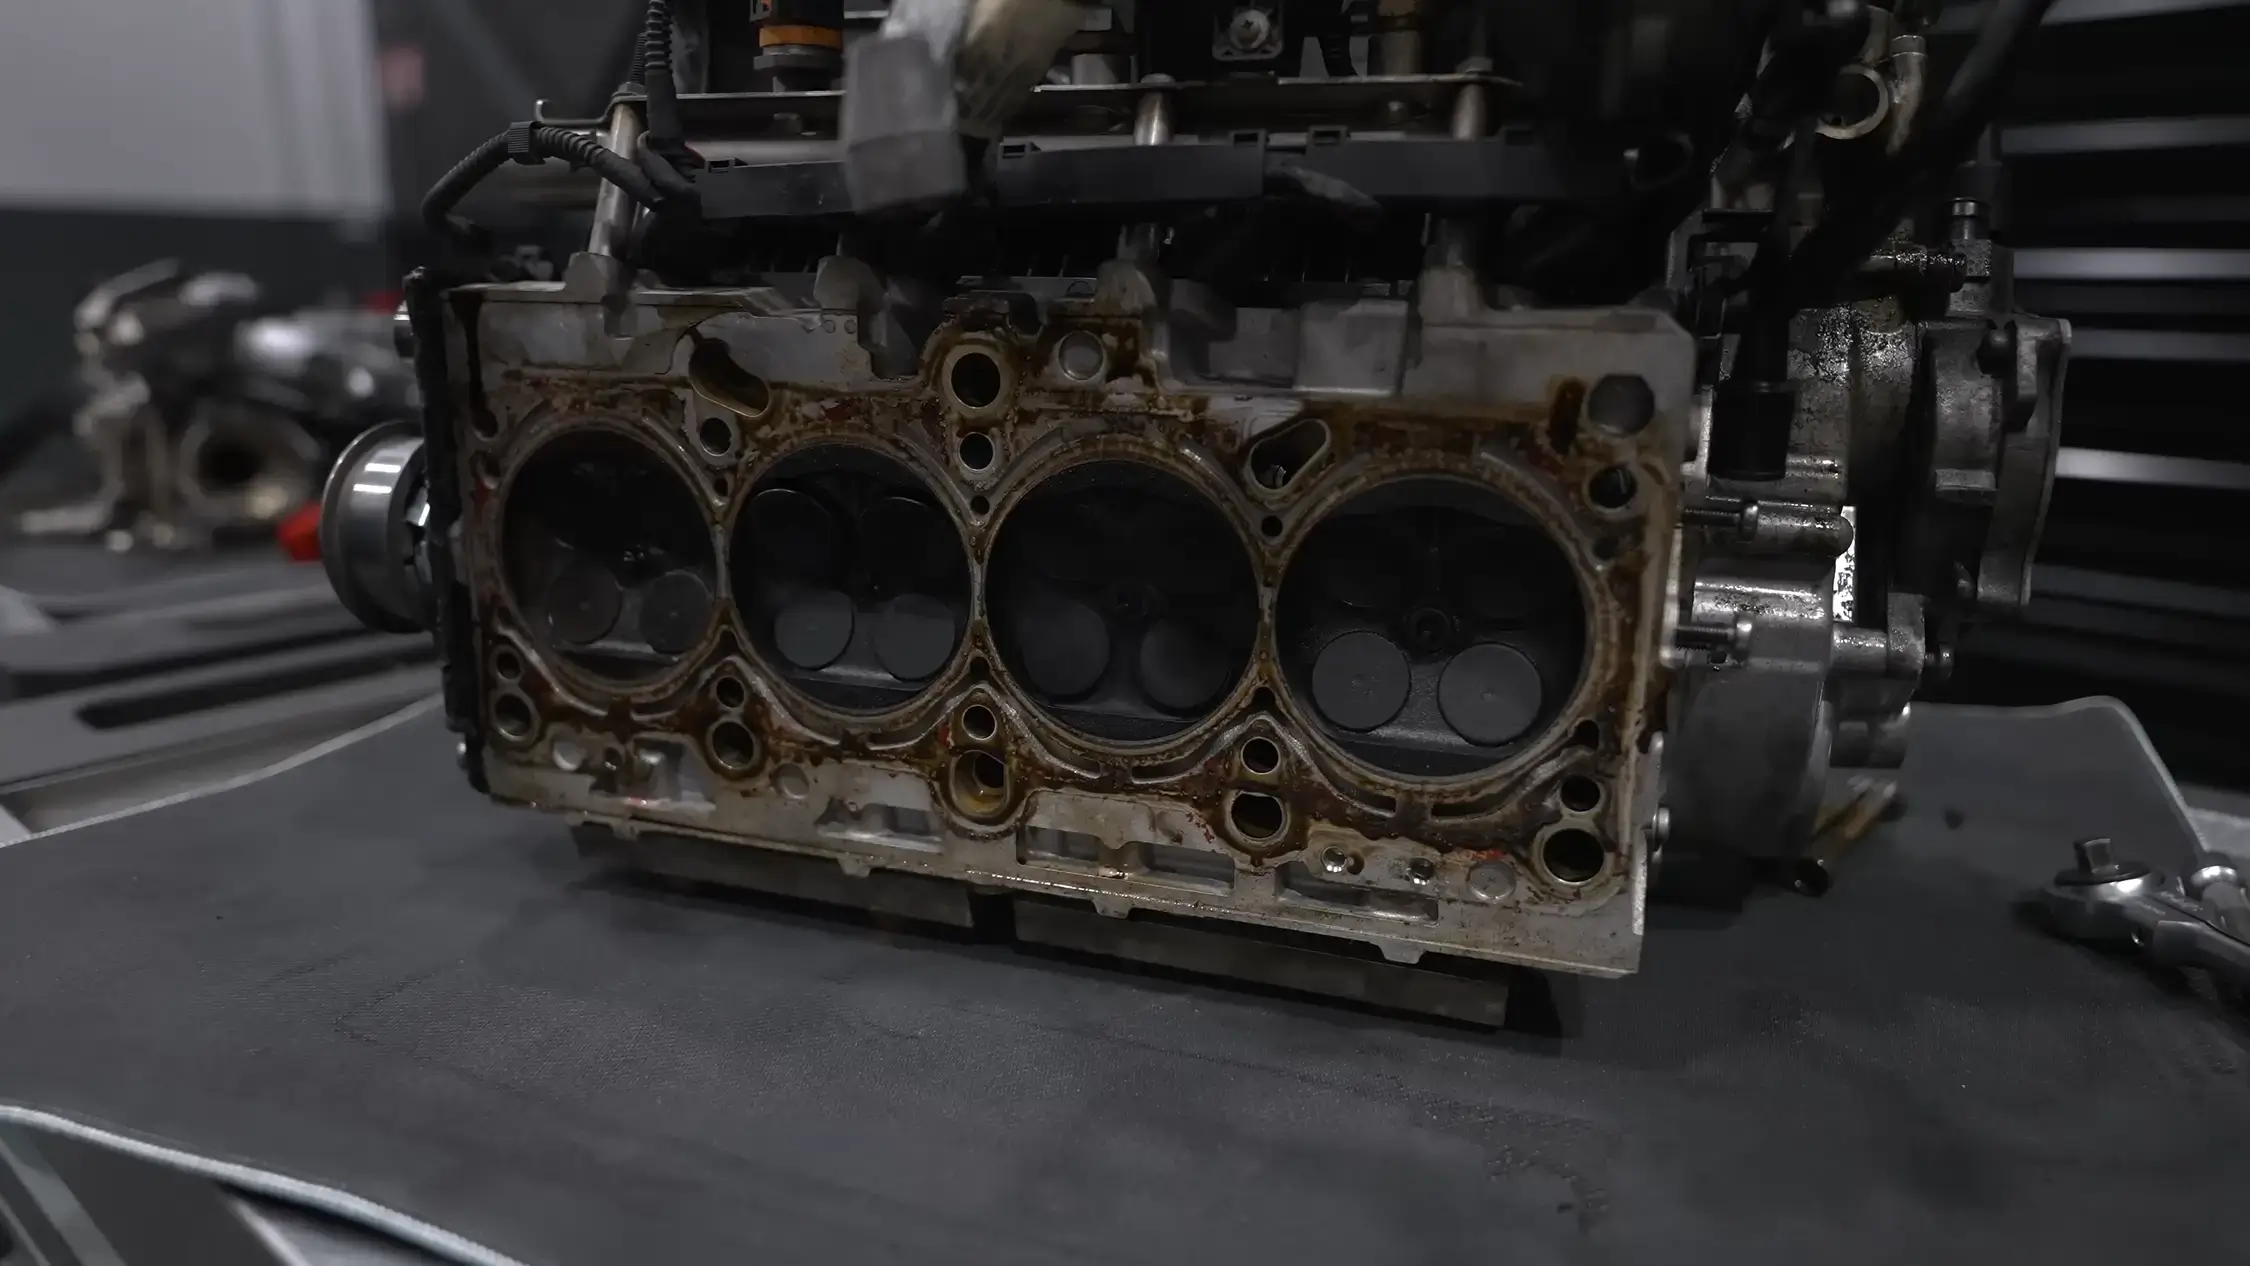
To accurately diagnose the problem and determine the extent of the damage, we'll dismantle the engine. This involves removing the turbo, removing the valve train and extracting the cylinder head to gain access to the heart of the engine. The aim is to check whether the engine block can be re-bored or whether it needs to be replaced, which will enable us to assess the possibility of replacing the original parts with reinforced ones.
The engine was removed for a thorough inspection, and it was found that the piston in cylinder 1 was damaged either due to a knocking phenomenon, an injector problem, an exhaust temperature problem or a slightly high ignition advance. It remains to be confirmed that the block is not damaged.
Preparing for Stage 3, the performance parts list
To remedy the mechanical problems encountered, the owner decided to entrust us with the complete Stage 3 preparation, including a fully forged engine and a TTE 480 turbo.
Here is the list of operations carried out at the customer's request:
- Installation of forged pistons
- Installation of forged connecting rods
- Removal of the PCV valve
- Installation of the complete gasket kit
- Replacement of connecting rod bearings (top and bottom)
- Installation of ARP crankshaft studs
- Change cylinder head bolts
- Fitting new spark plugs
- Complete valve train and water pump
- Replacement of the 16 valves, springs, cups and keys with reinforced ones.
- Loba high-pressure fuel pump
- New lambda sensors
- Replacement of filters
- and much more, such as a customised map adapted to the new performance parts...
Dismantling and machining the engine block
On this type of engine, the problem often comes from the number 1 cylinder. This is not irreparably damaged and could, in theory, be put back into service with a simple de-icing operation. As a precautionary measure and to avoid any risk, we're going to carry out an engine rebuild to minimise reliability problems.
This stage involves changing the diameter of the pistons by re-boring the cylinders by +0.25 mm (or +0.5 mm) on the'repair side', in order to recover the original new surface condition of the block. Pistons with the correct diameter will be ordered to match this new machining. The engine block will be completely dismantled, cleaned and then sent to a machine shop for the necessary modifications. Once the machining is complete, a meticulous check will be carried out on the quality of the work, including a check for play when the piston rings are cut, but we'll save that for another episode!
Dismantling the engine is the next stage, which involves turning it over to extract the pistons and connecting rods, and preparing it to be sent for machining. This methodical step serves to restore the engine to optimum condition, ensuring its reliability and performance for the future.
Engine diagnosis, the verdict is in!
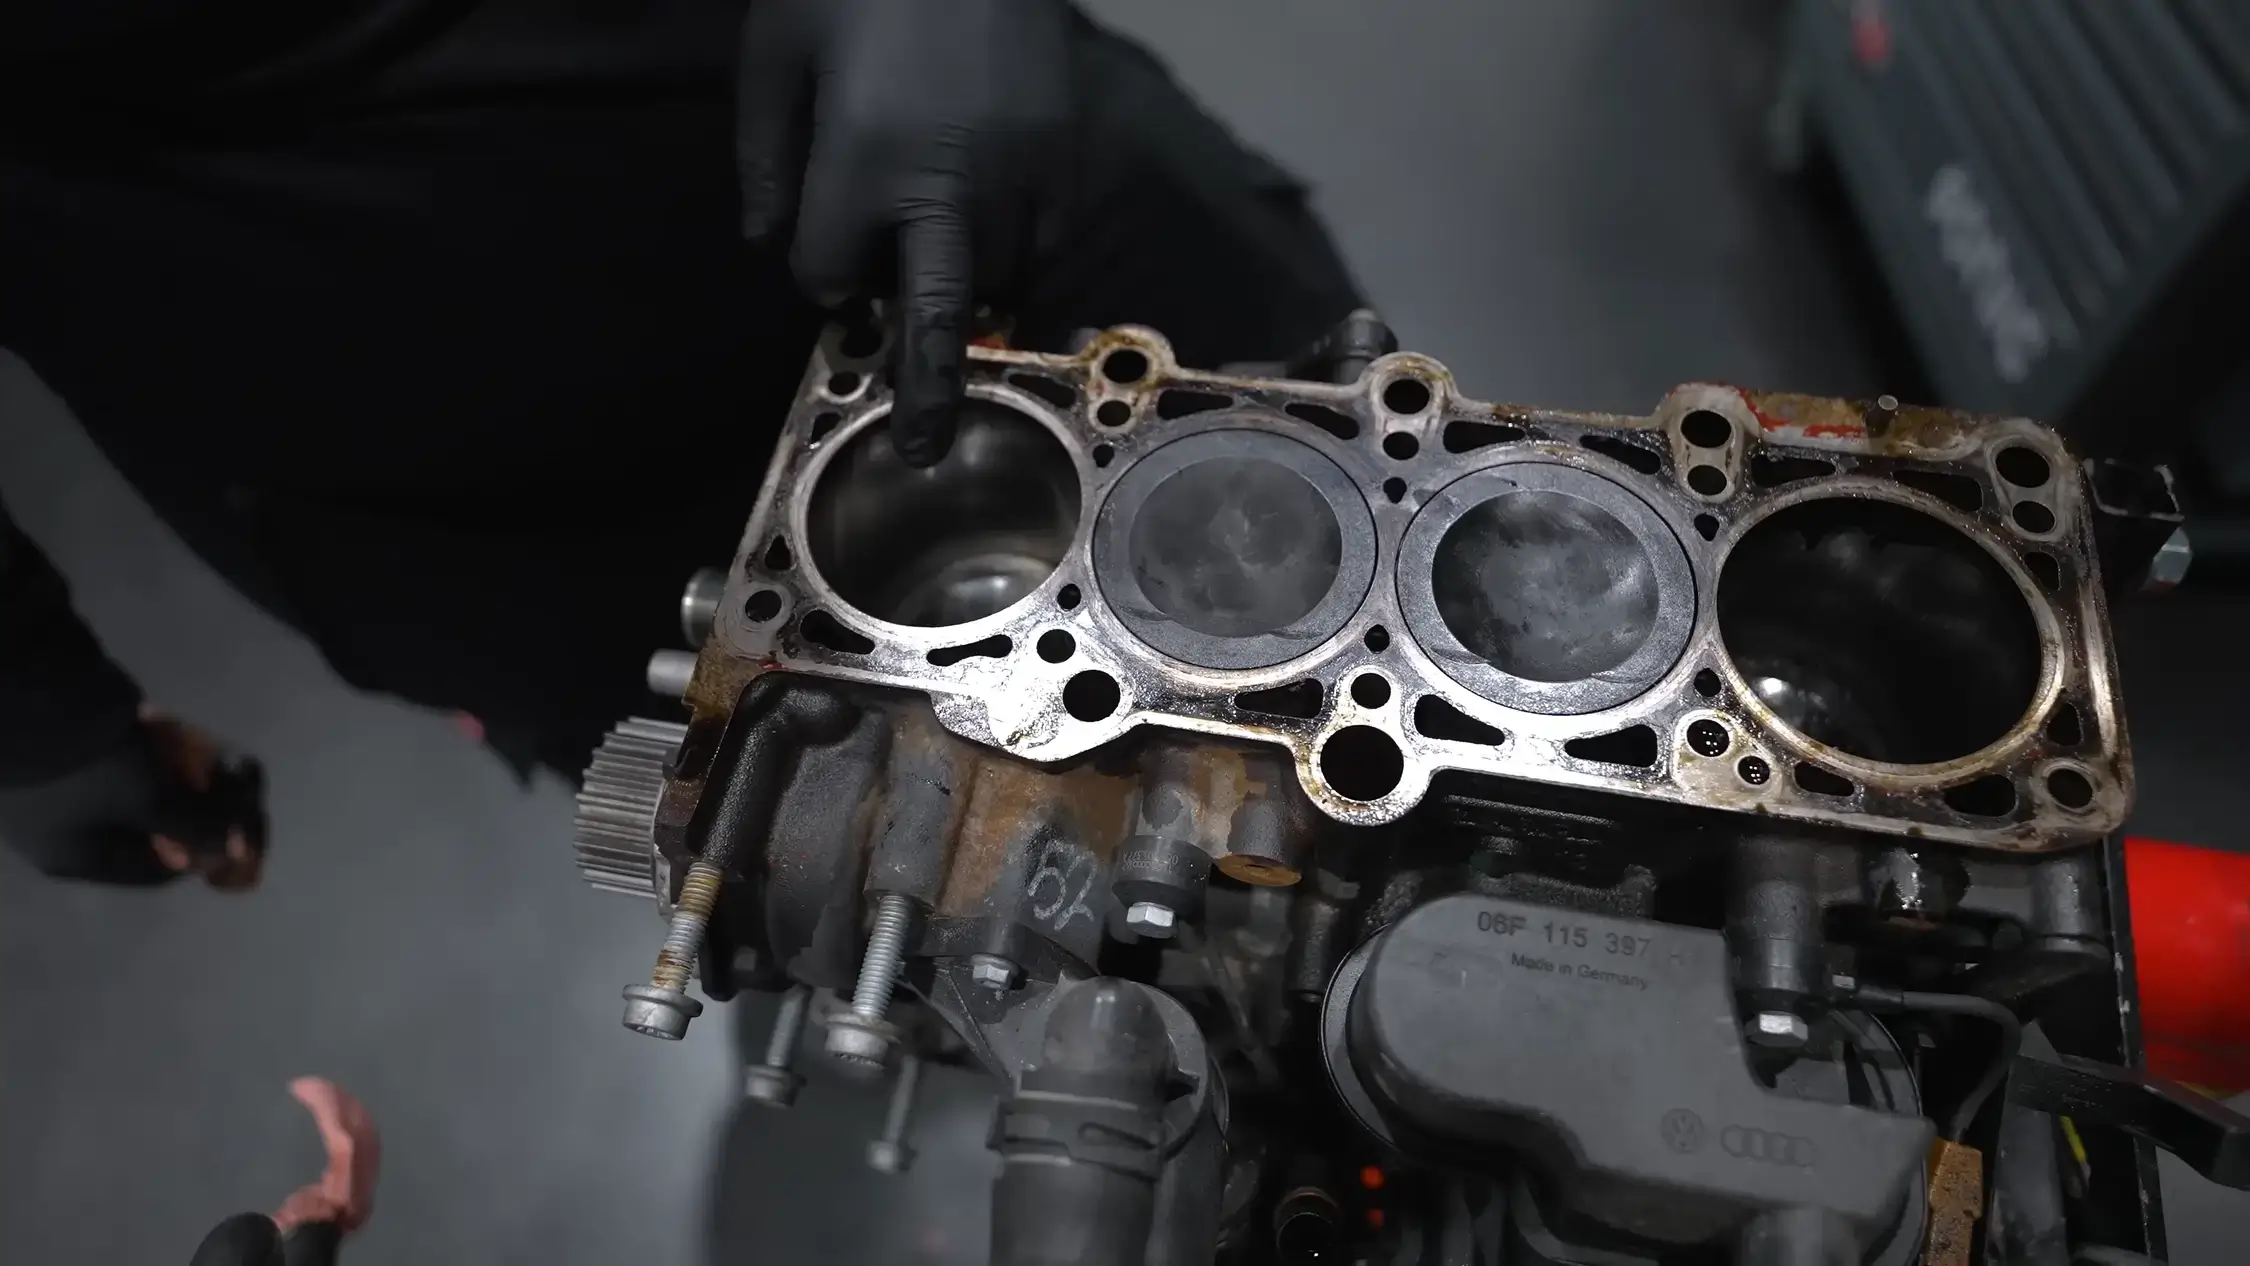
The technicians in the workshop finished dismantling the block, and the final blow fell...
Without appeal, the piston of cylinder 1, as mentioned above, is completely out of order. The knocking attacked it on the edge, creating heat and therefore expansion of the assembly, which rubbed into the cylinder and broke the piston head. As a result, the wiper and the 3 rings broke, which is why there's no more compression. On disassembly, the connecting rod was in good condition, as was the bearing. We didn't find any filings, so that bodes well for the rest of the project.
The last word
That's it, we hope you've enjoyed this article, and below is the Youtube video of the episode. Don't forget to visit our channel to discover our videos on the track or in the workshop at events such as the rubber burners, where we'll be there with Thierry Vigneau Boiserie, Milwaukee and many other partners to bring you some incredible moments.
Shiftech and you!
Engine chiptuning, e85 flexfuel and flexfuel+ conversion, performance parts, servicing, diagnostics, detailing, clear body protection film and much more, contact our centers if you would like to prepare your vehicle with Shiftech.
Learn more
View articles
Similar
