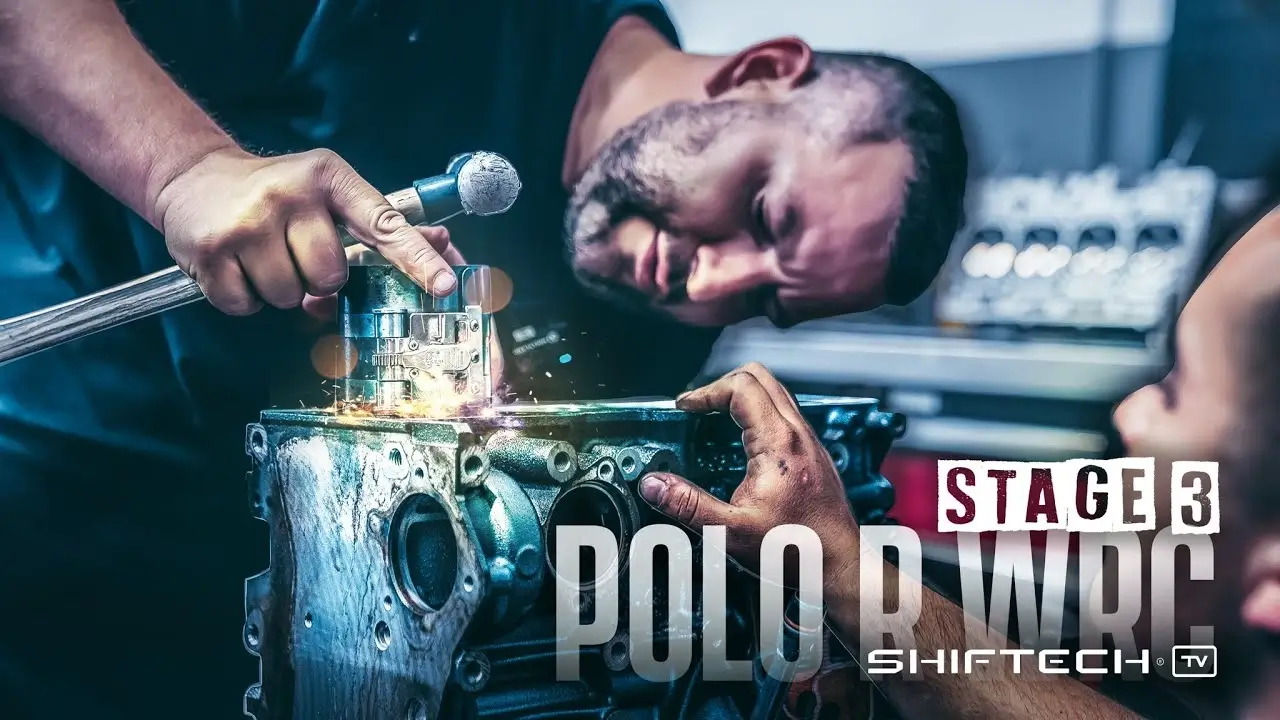
POLO R WRC STAGE 3: FORGING THE ENGINE! (EPISODE 3)
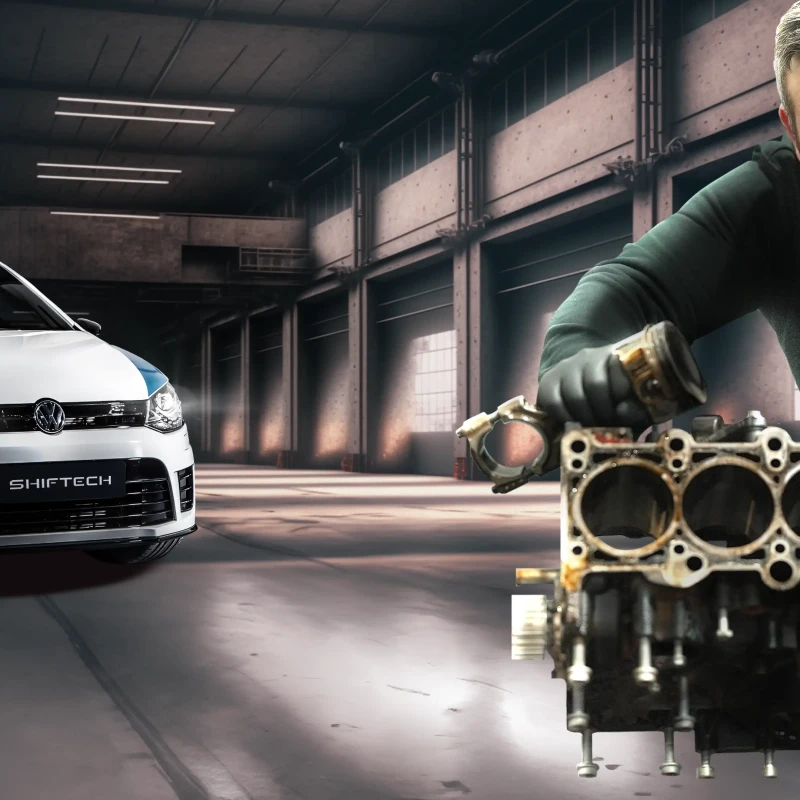
In a previous article, we told you about our customer's wish to have a stage 3 forged engine preparation on his Volkswagen Polo R WRC.
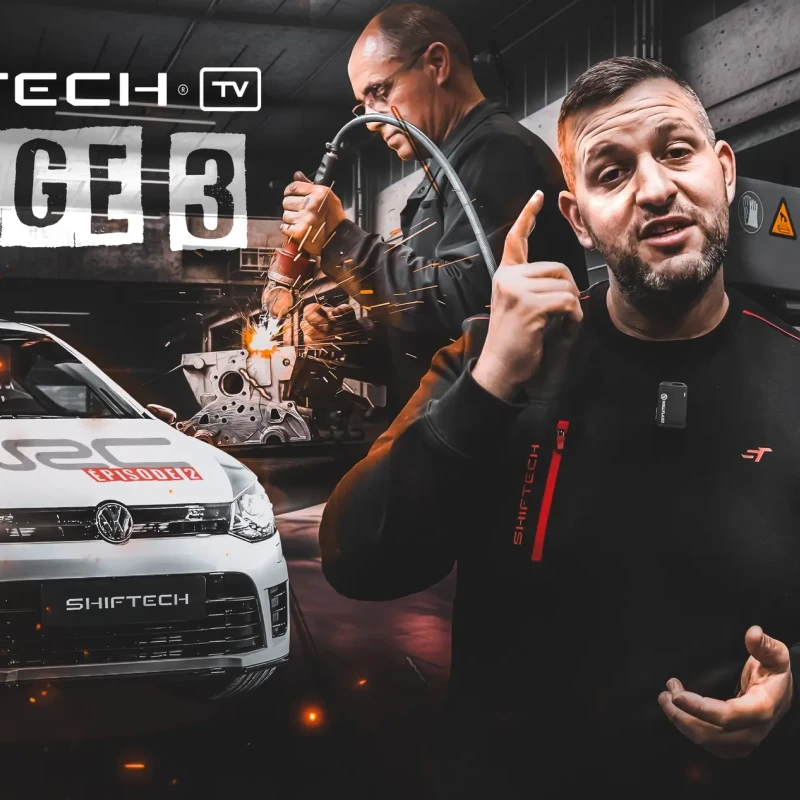
Today, Médéric and Sylvain from NSB Concept talk to us in detail about this incredible project. You'll see that it requires a great deal of technical knowledge, and that it's important to choose your tuner carefully to avoid any surprises. In this article, we won't give you all the technical references in the video, but we'll leave you the pleasure of watching it to find out all about the Stage 3 project.
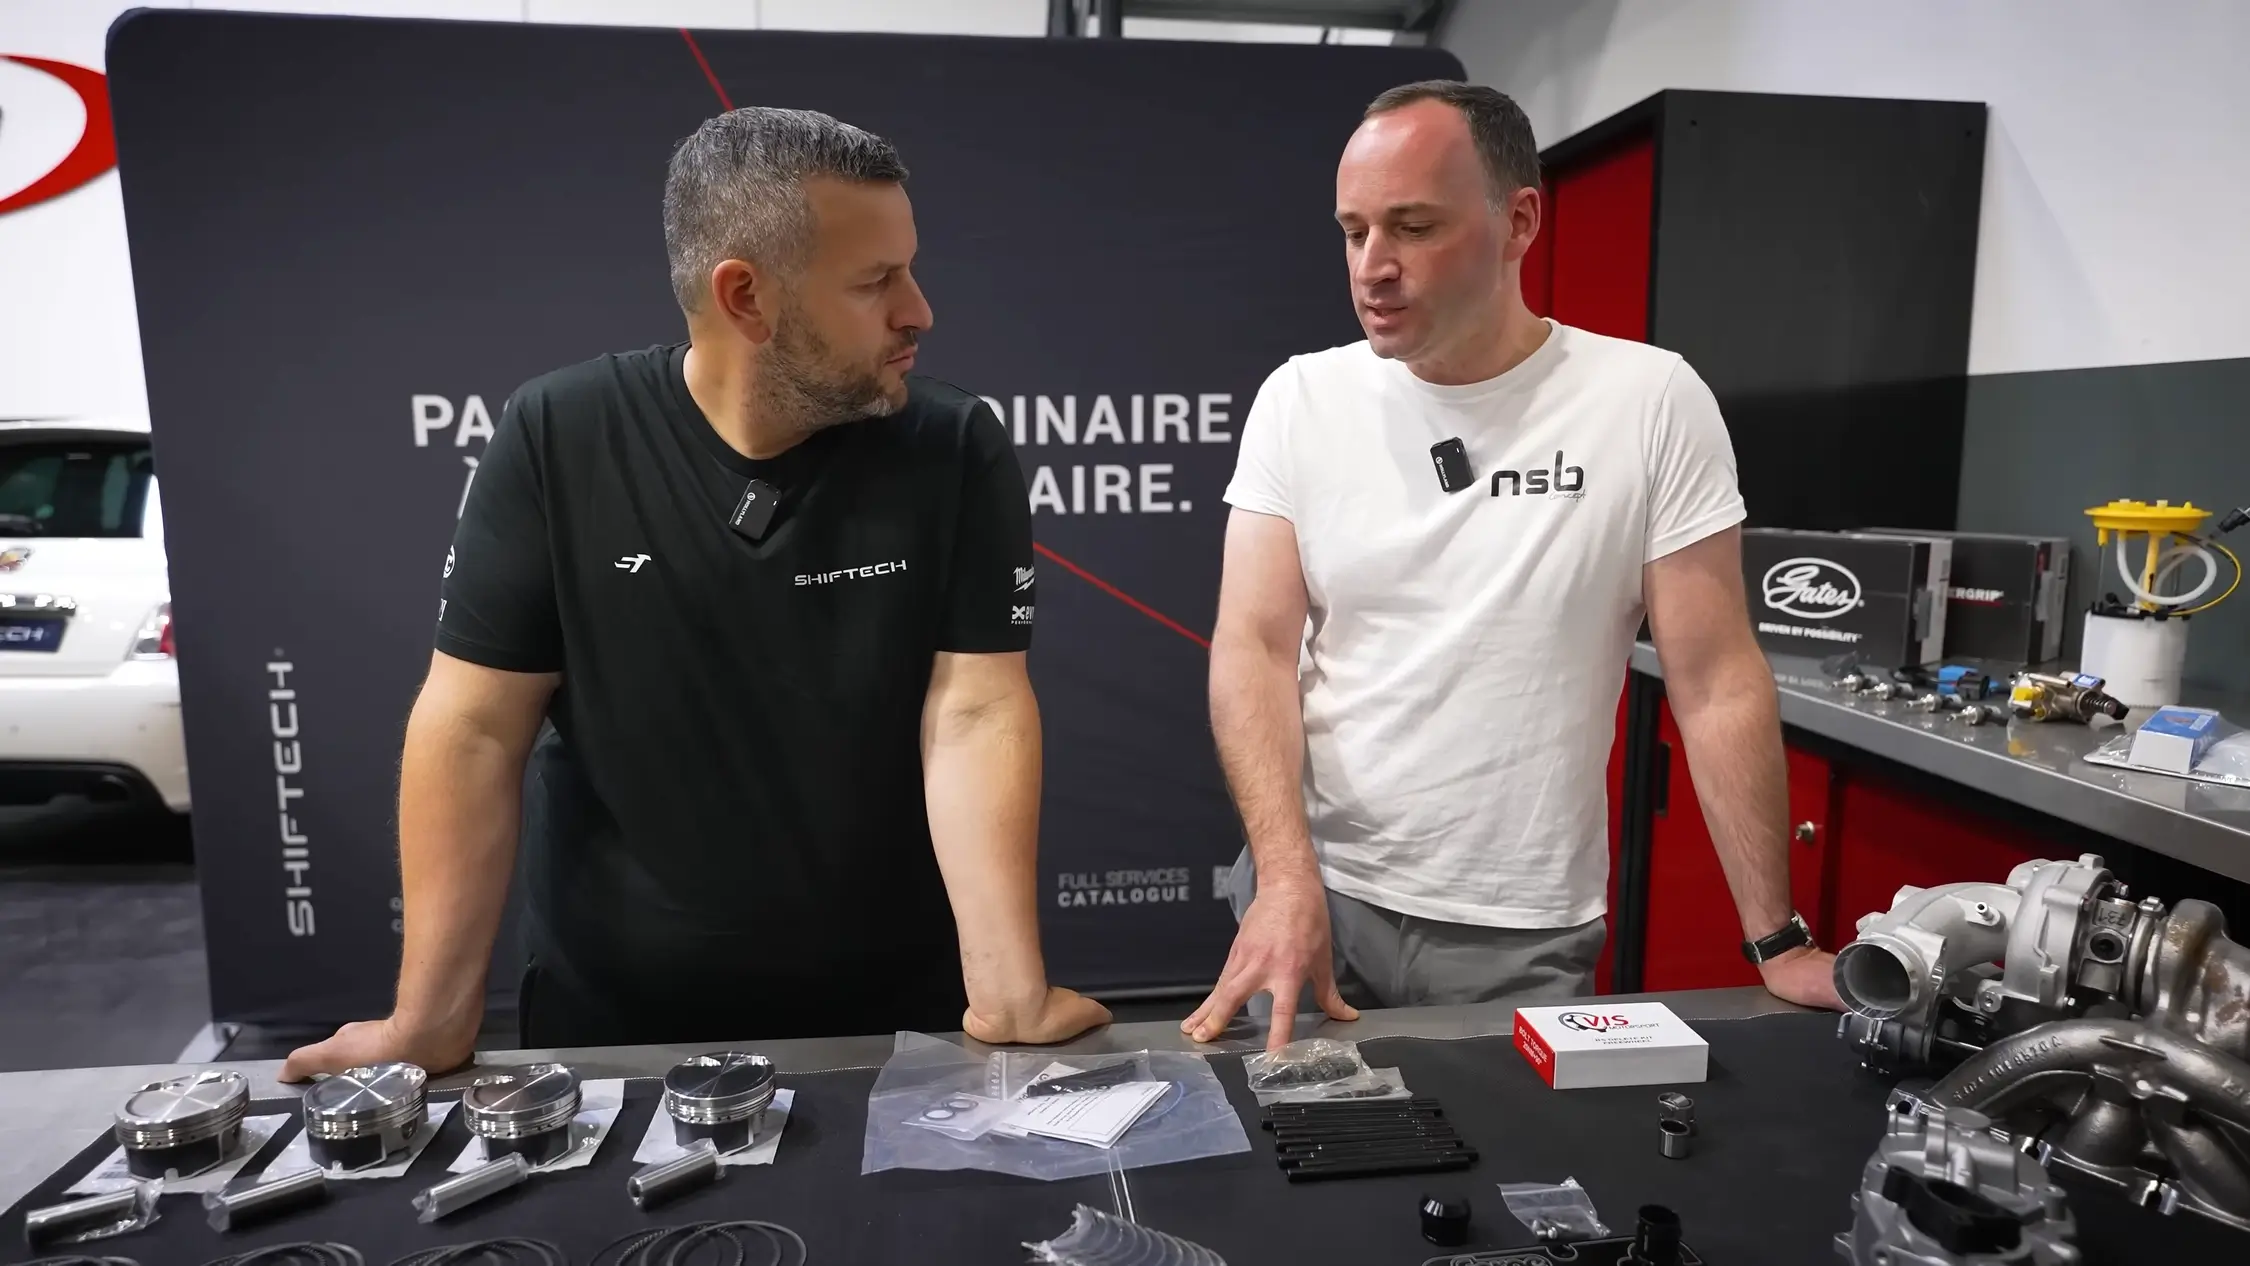
NSB Concept, specialist in performance parts
By way of introduction, NSB Concept is a company specialising in the sale of parts and equipment for sports cars, rally cars and circuit cars. Founded in 2009 by Sylvain Breton, NSB Concept has quickly established itself as a reference in the field of engine optimisation and preparation of competition vehicles.
The collaboration between Shiftech and NSB Concept combines their know-how with technical skills to offer high-performance, reliable engine preparations, transforming vehicles like the Polo R WRC into genuine racing machines.
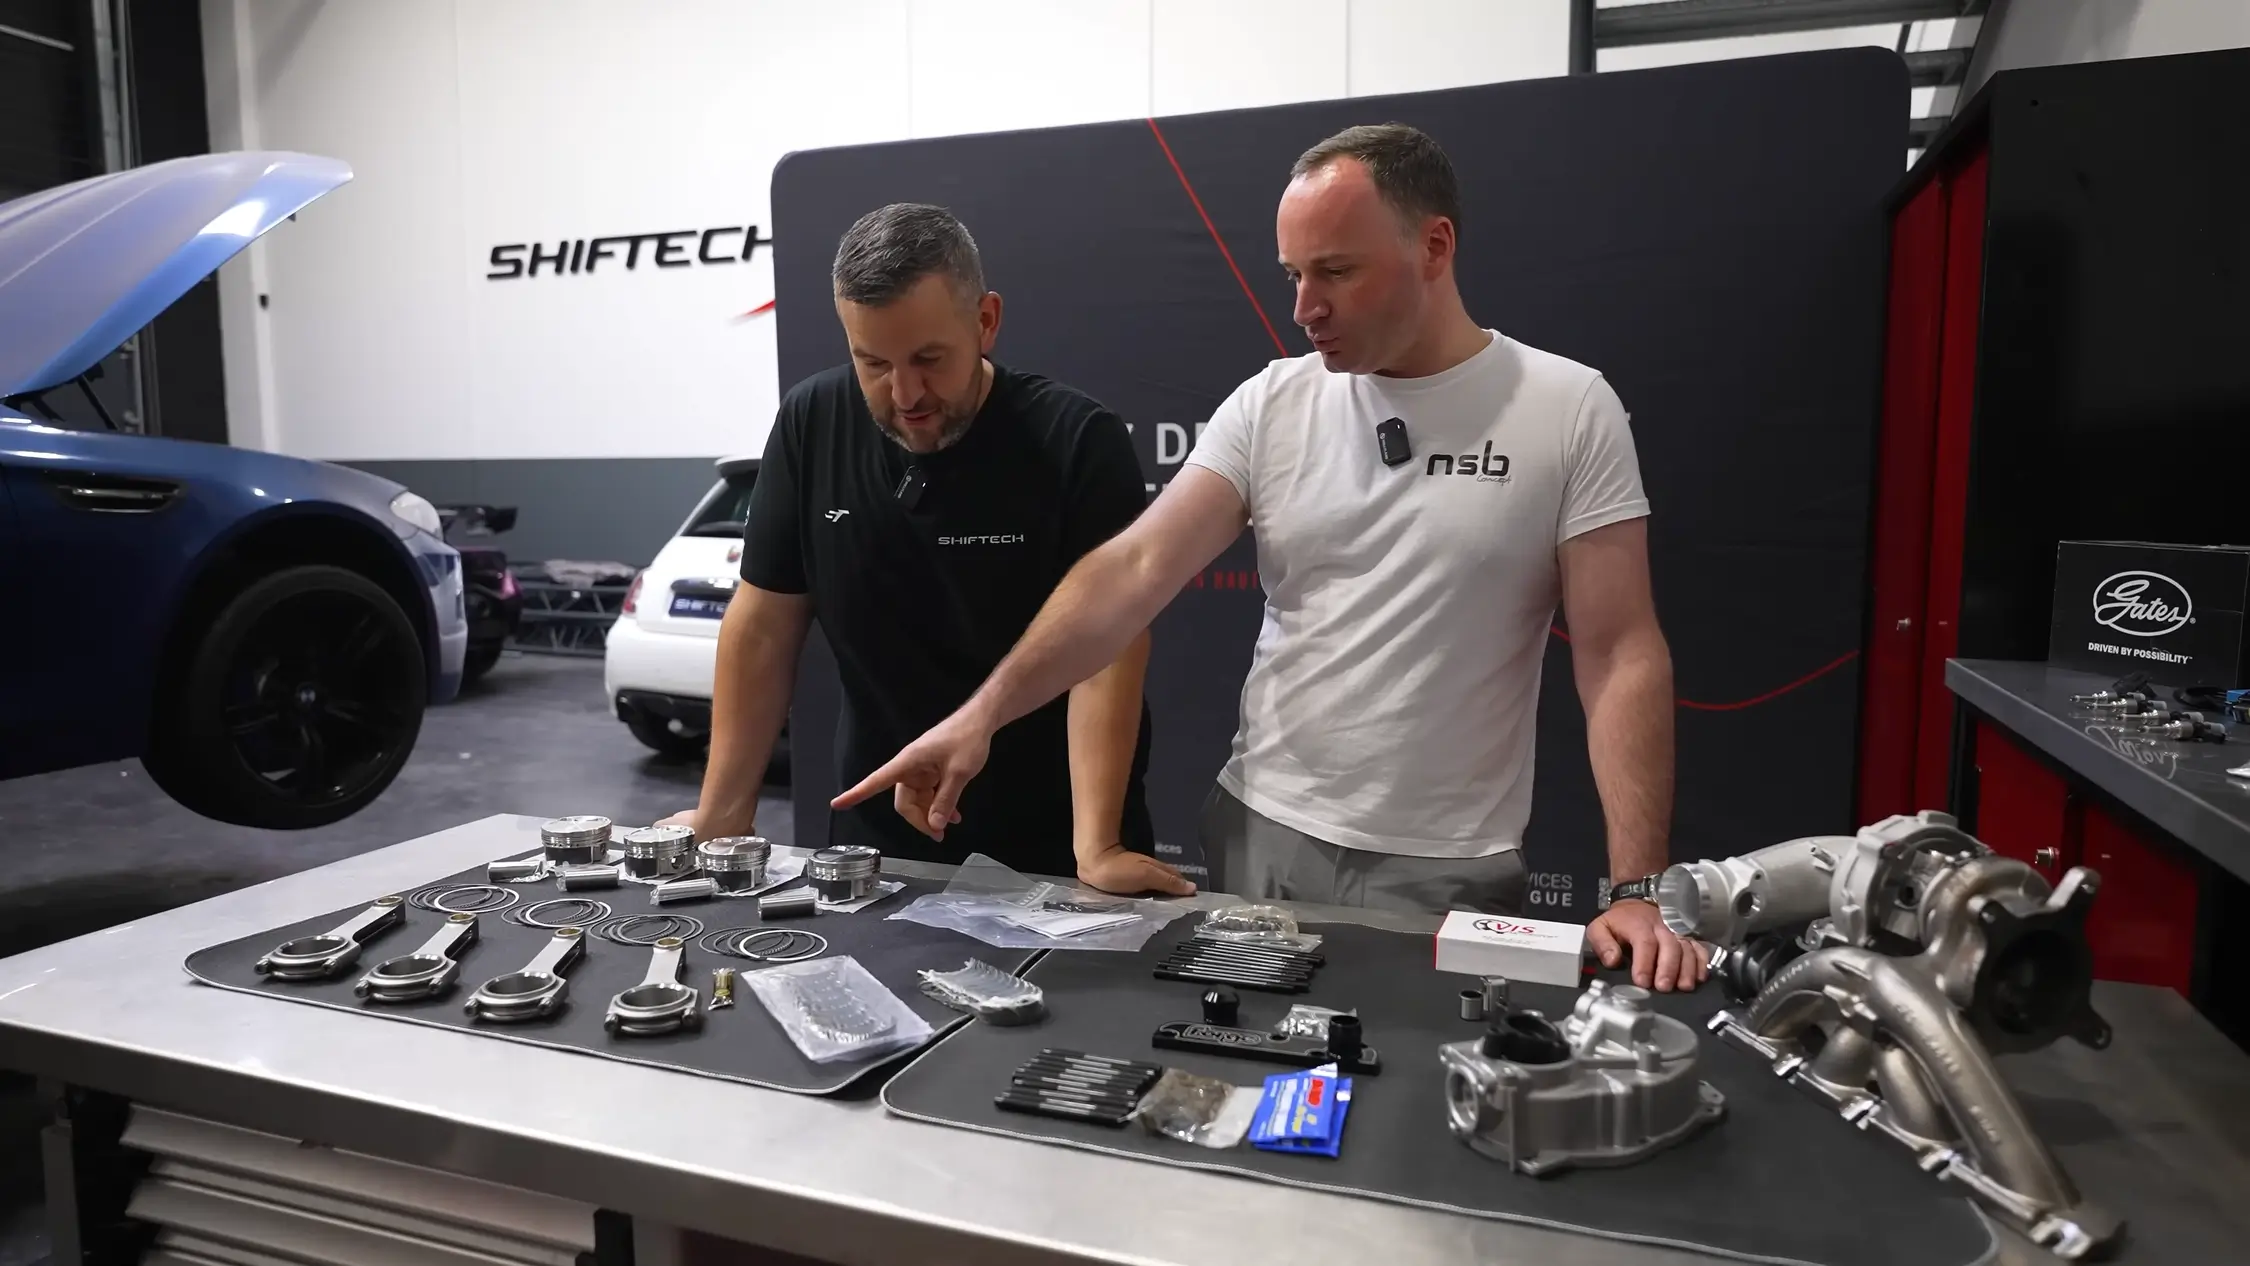
Performance parts for the Polo R WRC
The customer's brief was simple: to forge the engine with the right parts so as to have a reliable preparation. In the end, the plan changed slightly, as we decided to work with NSB Concept, who brought their expertise to the project to reassess the requirements and make a few last-minute changes.
Quality from start to finish
Working with resellers such as NSB means that Shiftech can offer its customers the very best in forged parts. Sylvain and his teams carry out upstream sourcing work to ensure that only the best on the market is available for sale. If a brand is unable to provide NSB Concept with quality control throughout production, it will be excluded from the catalogue. Our sole aim is to offer only the best at competitive prices.
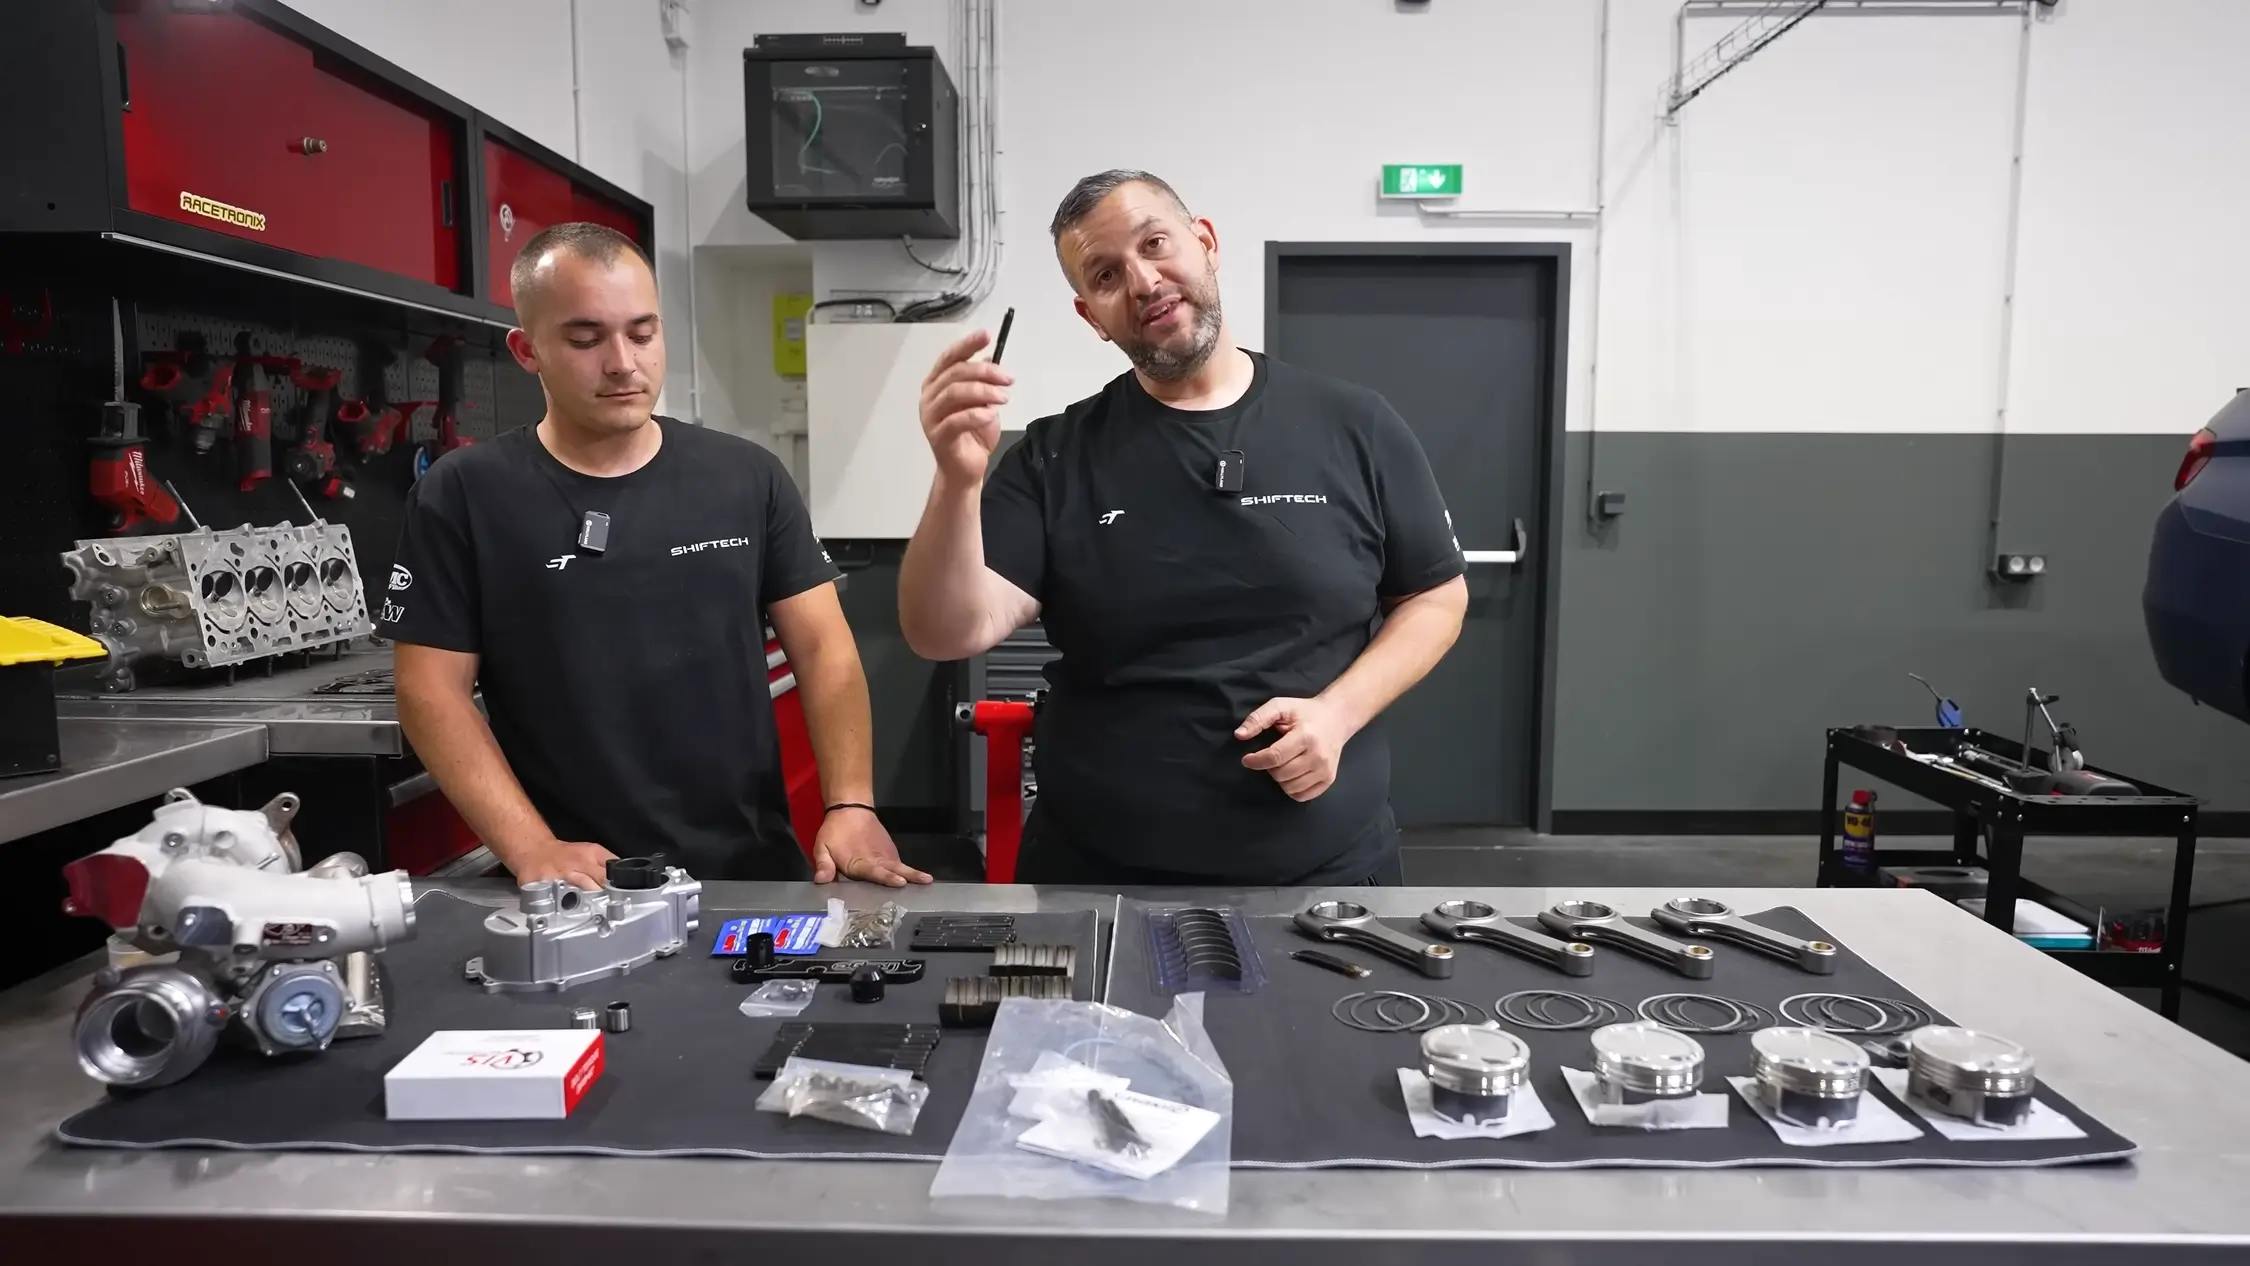
Assembly of forged parts
Now that Médéric and Sylvain have given us a detailed explanation of everything that's going to go into the project, it's time to move on to assembling the parts in our workshop.
William, who is one of our experienced technicians at the Tours center, will start by greasing and fitting the ARP screws to prepare the crankshaft at the bottom of the engine block, which has been completely degreased beforehand. He will then fit the crankshaft and upper bearings. Meanwhile, Médéric will be assembling the pistons, starting with the piston pins and locking them in place with the clips after weighing and greasing them. It's not a complicated operation in itself, as long as you do things in the right order. Here, the most delicate operation will be to fit the segments perfectly so as not to encounter sealing problems later on.
The critical moment: segment assembly
To ensure proper assembly, it's important to observe a few things, such as the direction of the segments (always with the engraving facing upwards) and to take your time. The segments are as fragile as glass, which makes this a critical stage.
Back to the engine block
William has made good progress, since the screws are in place and the bearings are installed on the upper part of the block. Now we need to reinstall the oil drip pans that lubricate and cool the pistons. This is another step to be taken seriously, as the slightest mistake at this stage could result in engine failure.
Refitting the pistons
To refit the pistons without making any mistakes, it's vital to make sure you follow the correct fitting direction. The pistons are fitted with a "recess" at the machining stage this allows the pistons to pass as close as possible to the oil sump without touching it.
Bearings and crankshaft
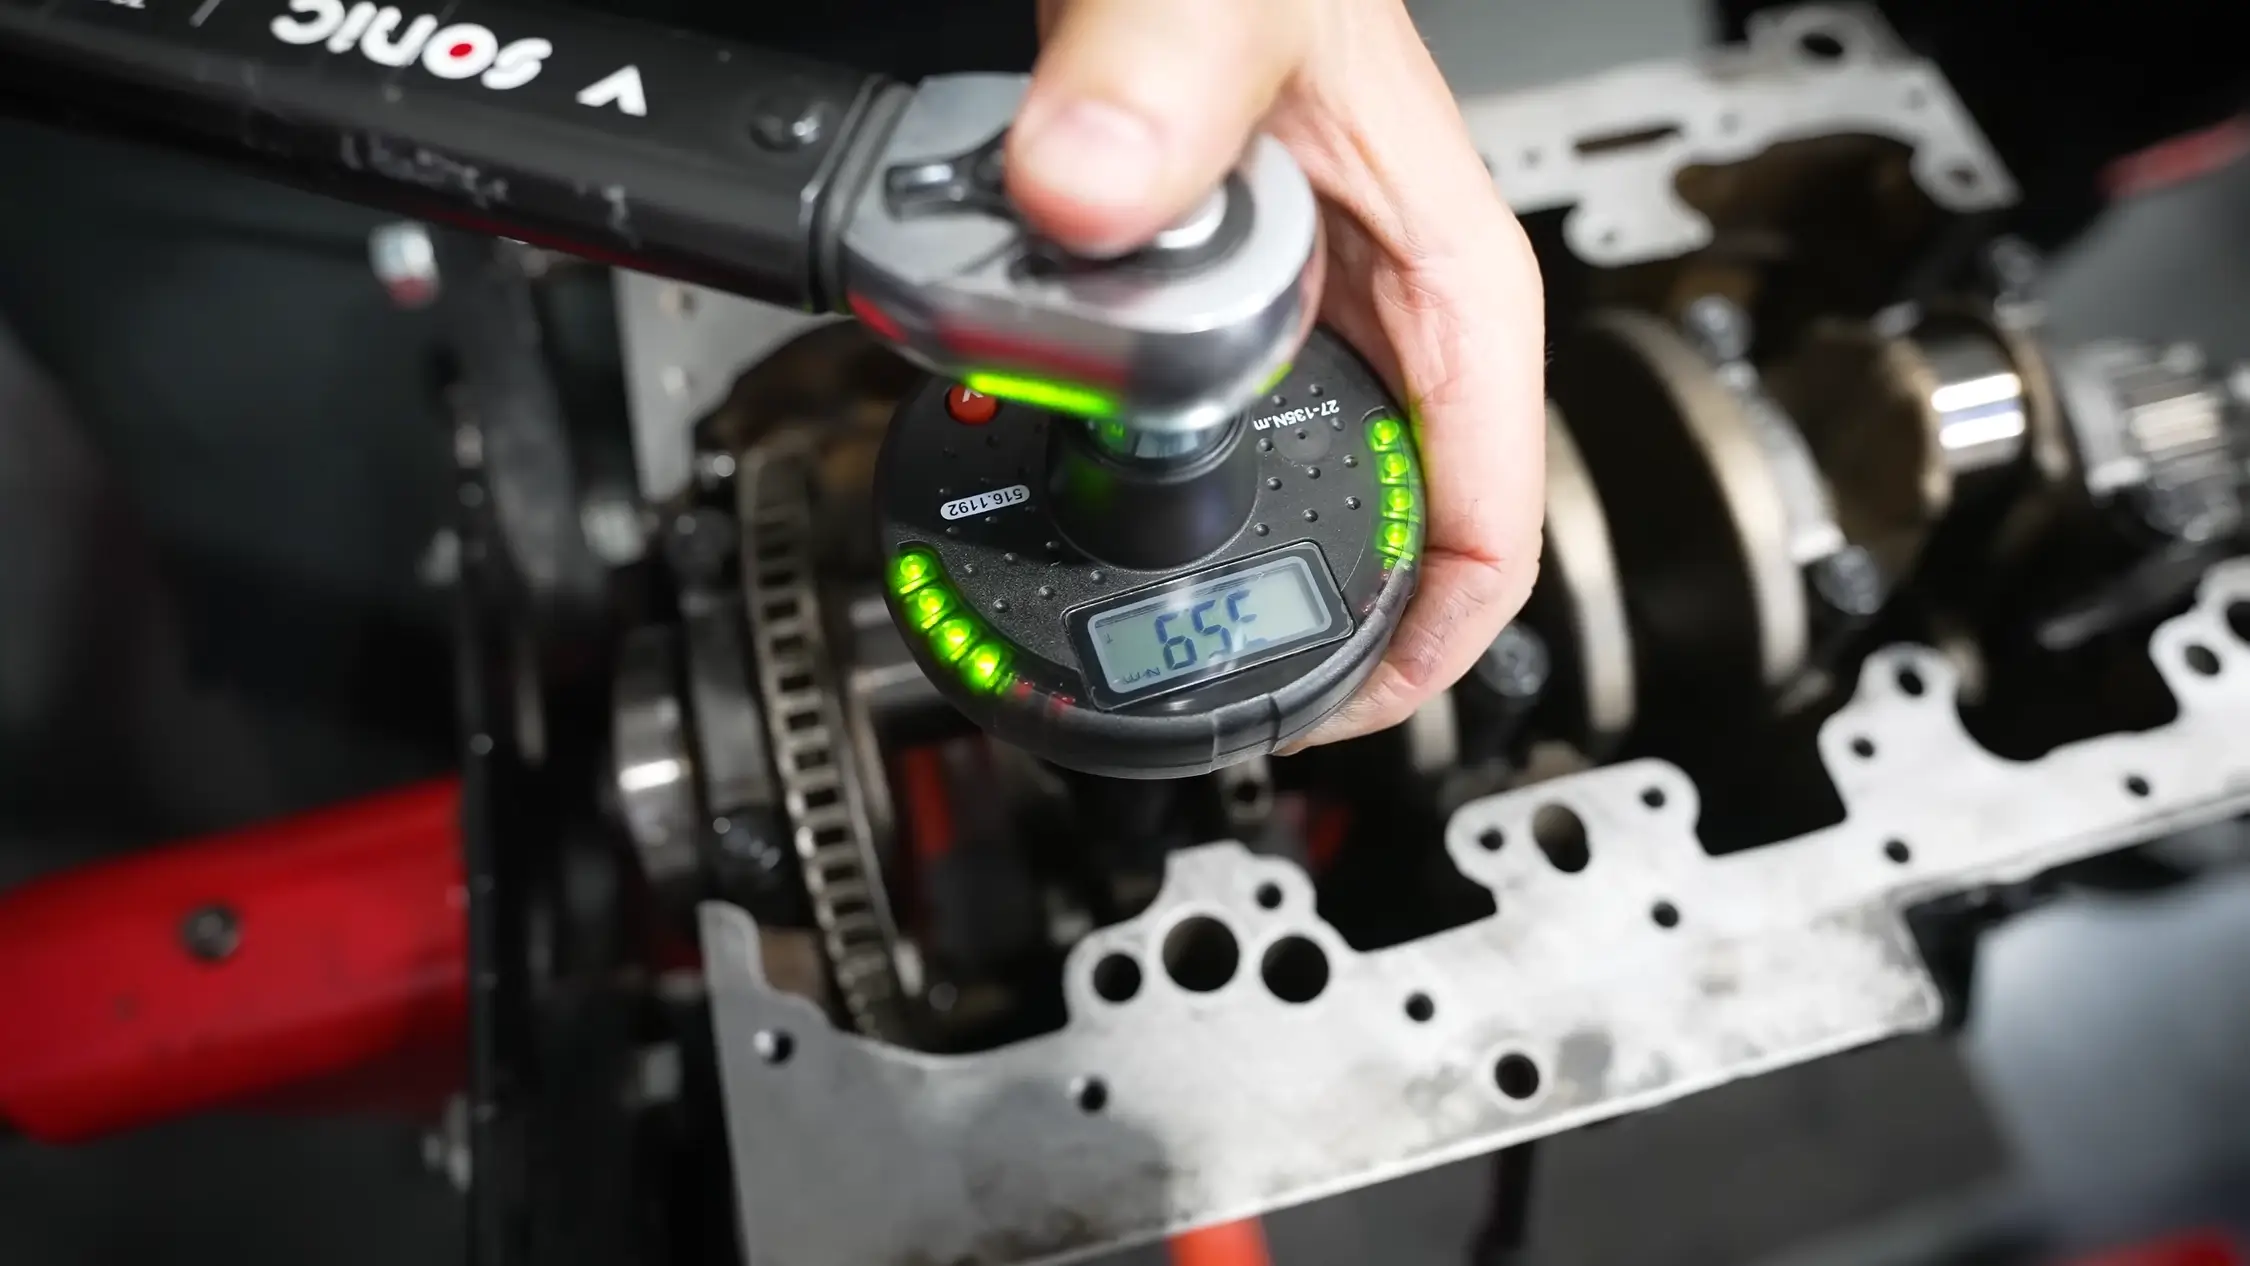
Having greased the connecting rod bearings and fitted the crankshaft, it's now time to tighten the assembly with a torque spanner to the correct torque recommended by the performance parts manufacturer.
Pistons / connecting rods assembly on the crankshaft
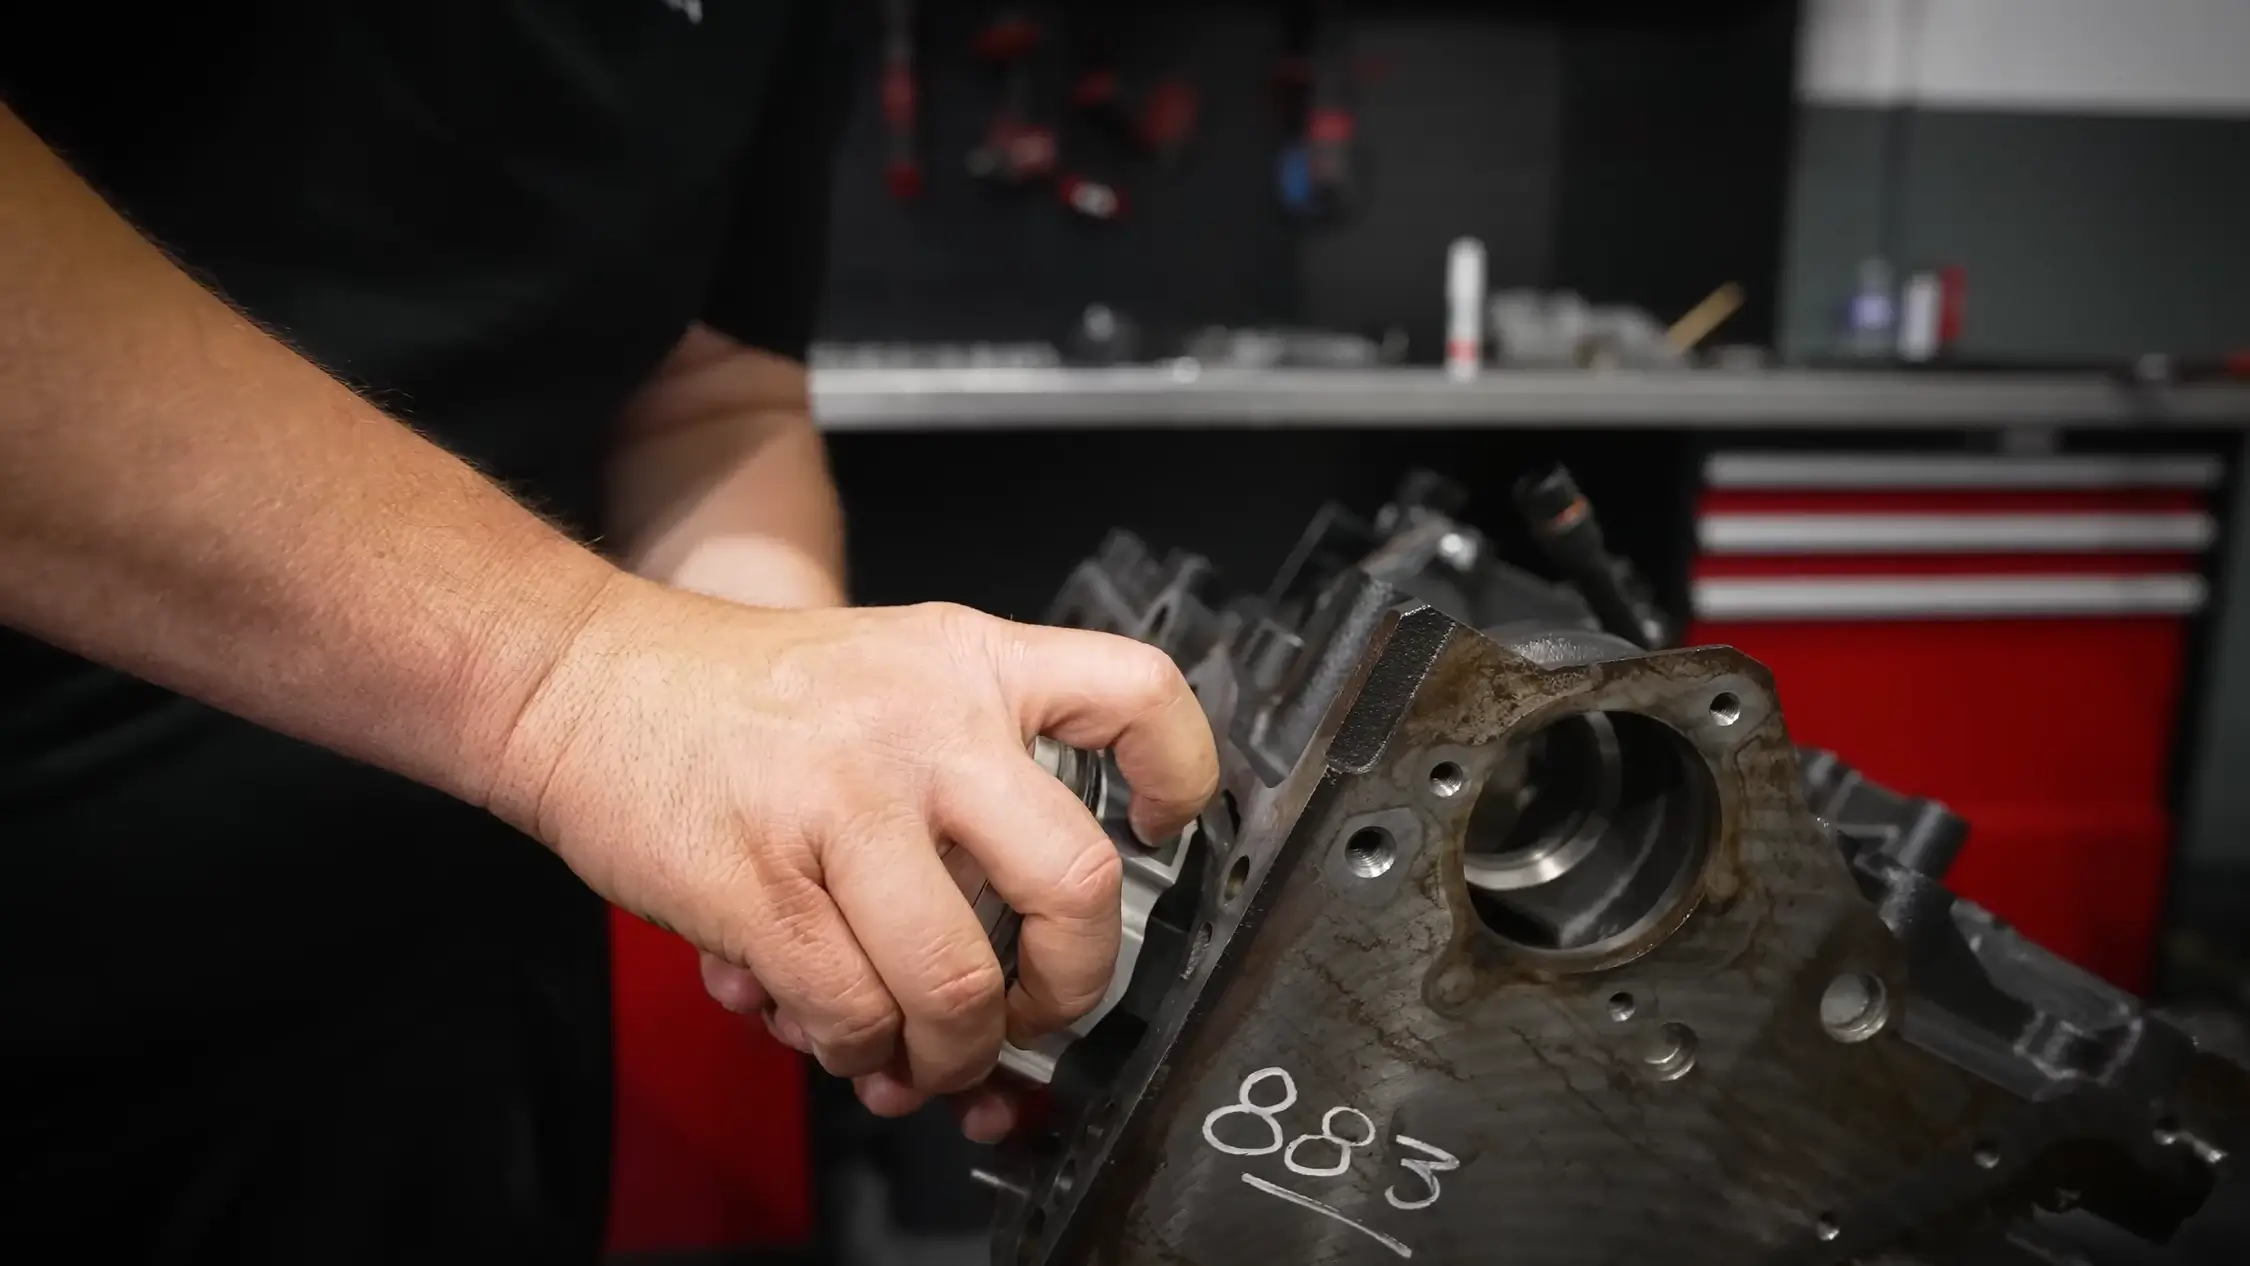
Another key stage is to fit the piston and connecting rod assembly into the cylinder without damaging the piston rings. To do this, we use a'ring clamp', which (as its name suggests) clamps the rings and ensures that the piston is correctly positioned in the cylinder. Once in place, we turn the engine over so that we can screw on the connecting rod caps and check the play in the connecting rod bearings using the Plastigauge. We should have a tolerance of between 0.08 and 0.012 to ensure that everything is in order, which, after checking, turns out to be perfect, so we can continue to reassemble the engine block.
"It's the cylinder head!
Now that everything is ok, checked, tightened to torque and top dead centre has been done, we can then reassemble the cylinder head, taking care to do a cross tightening to 40 Nm of torque for the first pass, then two passes at 90°.
From workshop to start-up
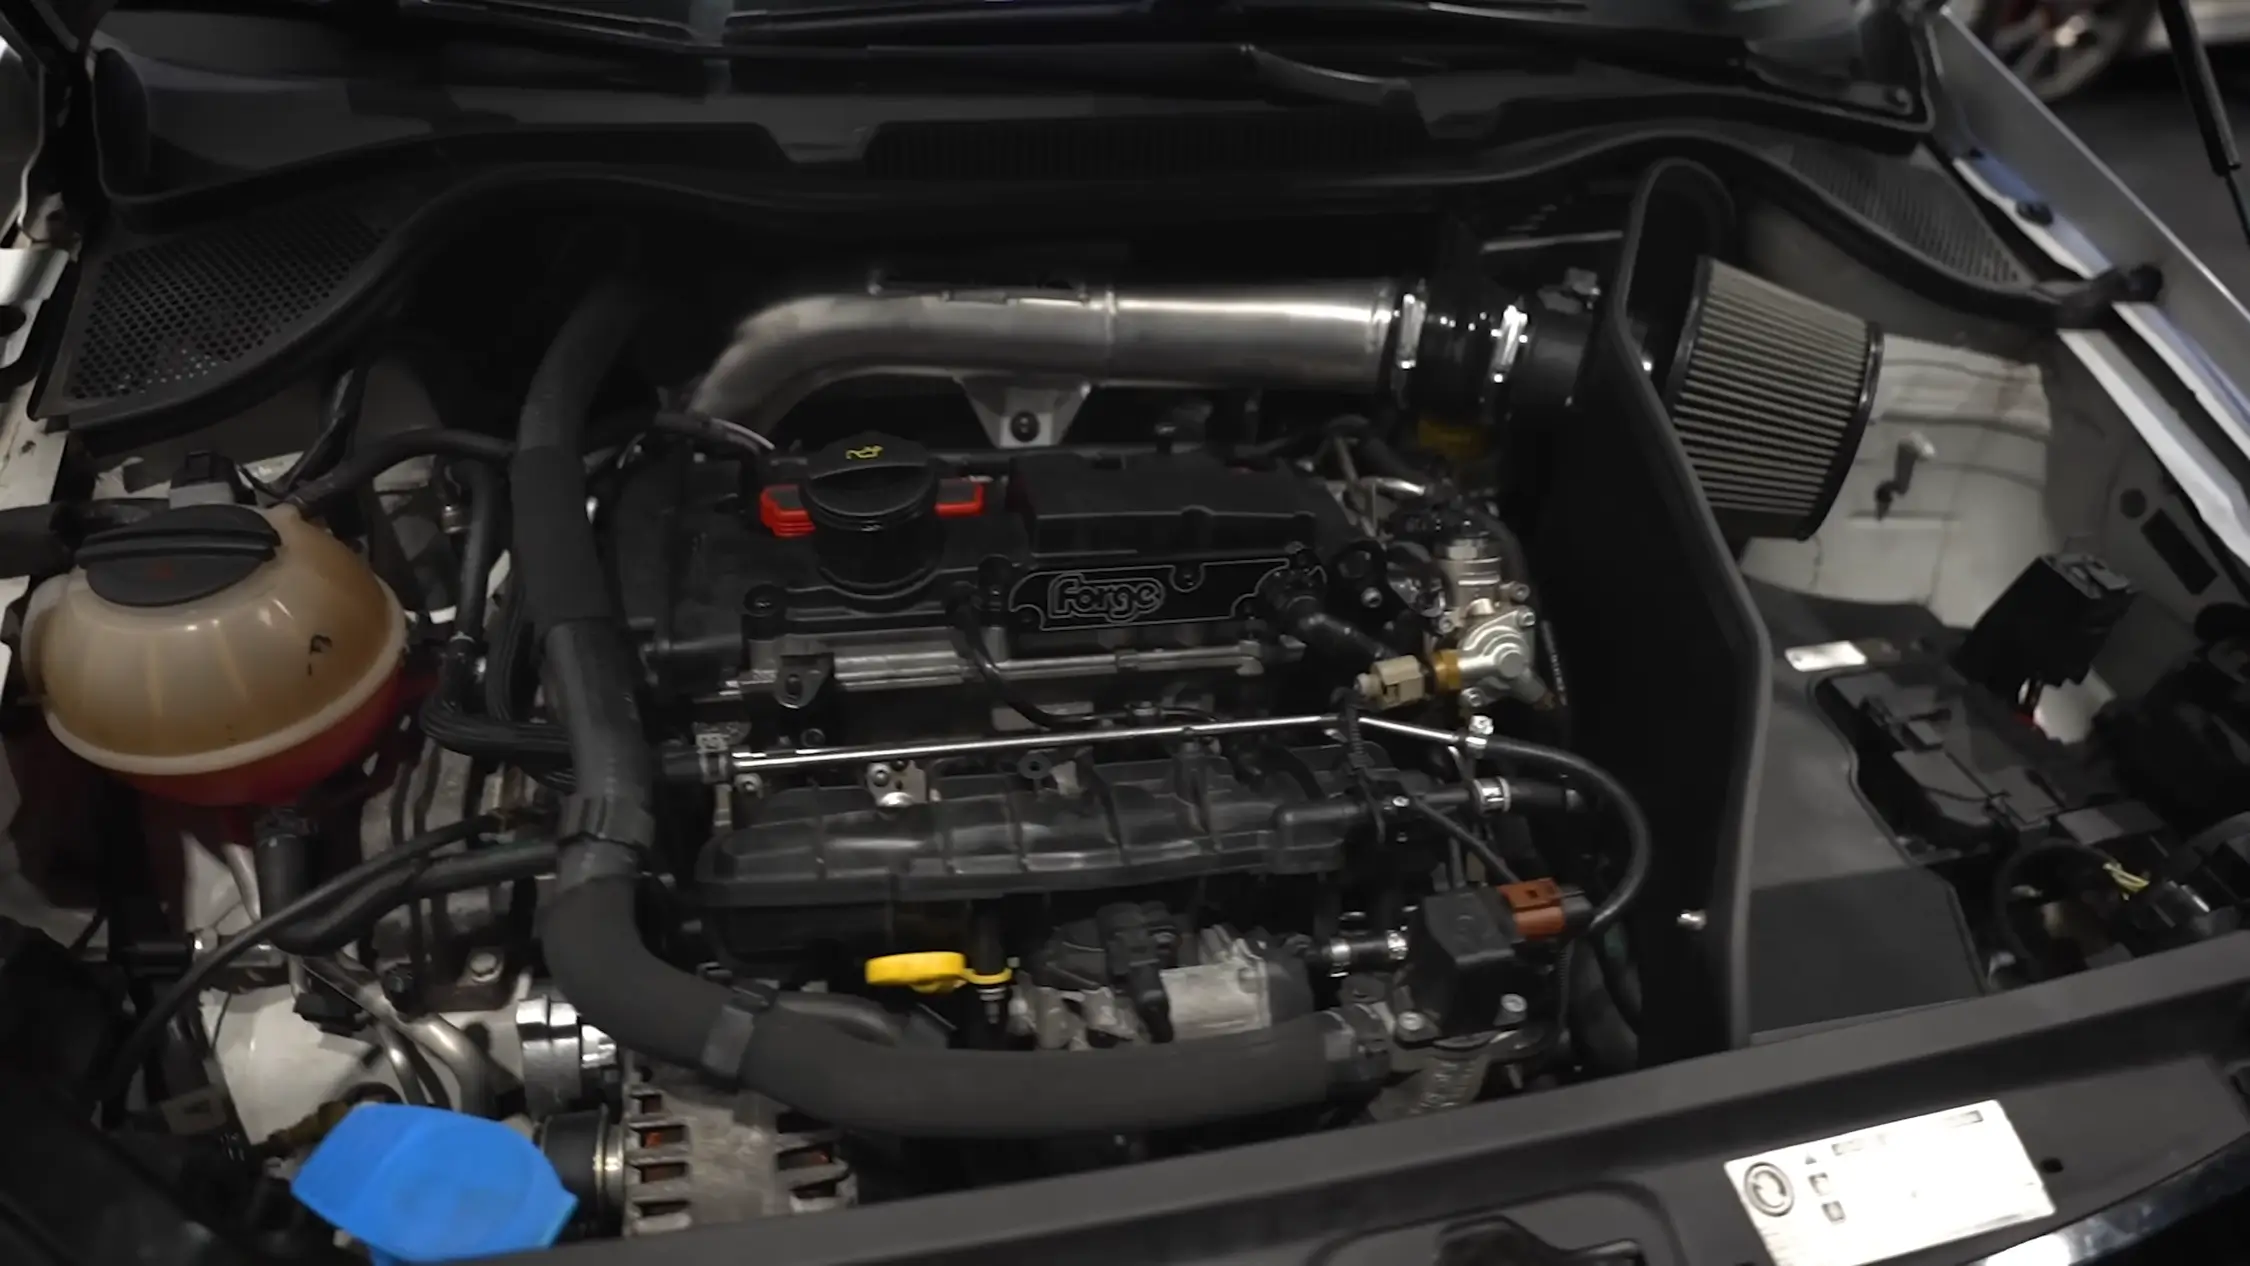
After an absence of a few days for Médéric, the engine has found its place in the engine bay. This will be followed by the first start-up to pressurise the whole block. To complete this project, all that's missing is the recharging of the air conditioning, a geometry, a running-in and, of course, a made-to-measure mapping for the injectors and changes to the rail pressure, so that the owner can enjoy the vehicle to the full.
What's next for this Polo R WRC?
Friends, we're going to finish off this project in an upcoming video where we'll show you the dyno runs and the various checks after running-in, so that you have the most complete Stage 3 engine preparation project possible. We'll leave you with the video and don't forget that there's a promo code hidden in the description of the Youtube video that will give you a 10% DISCOUNT on all Stage 1 engine reprogramming with the code: (see video description).
Youtube Game
Watch the Youtube video!
Learn more
View articles
Similar
